The power supply unit is an integral part of any system. It takes care of electricity transmission from the unit to the motherboard and all other components of a PC. I have prepared this superb yet simple step-by-step guide to help you know how PCU works. I will also talk about cable management. Most users don’t learn how to connect power supply to motherboard, but I’ll clarify all your queries and doubts in this article.
The process begins with installing the power supply unit in the PC case, and once you have done it successfully, you need to wire between the PSU and motherboard. You cannot get power to turn your PC on and to get the motherboard and other components to work for the processes until you get them all wired perfectly. So, if you are building a PC on your own, you must learn how to connect the PSU with the motherboard.
What is the CPU Power Supply Cable?
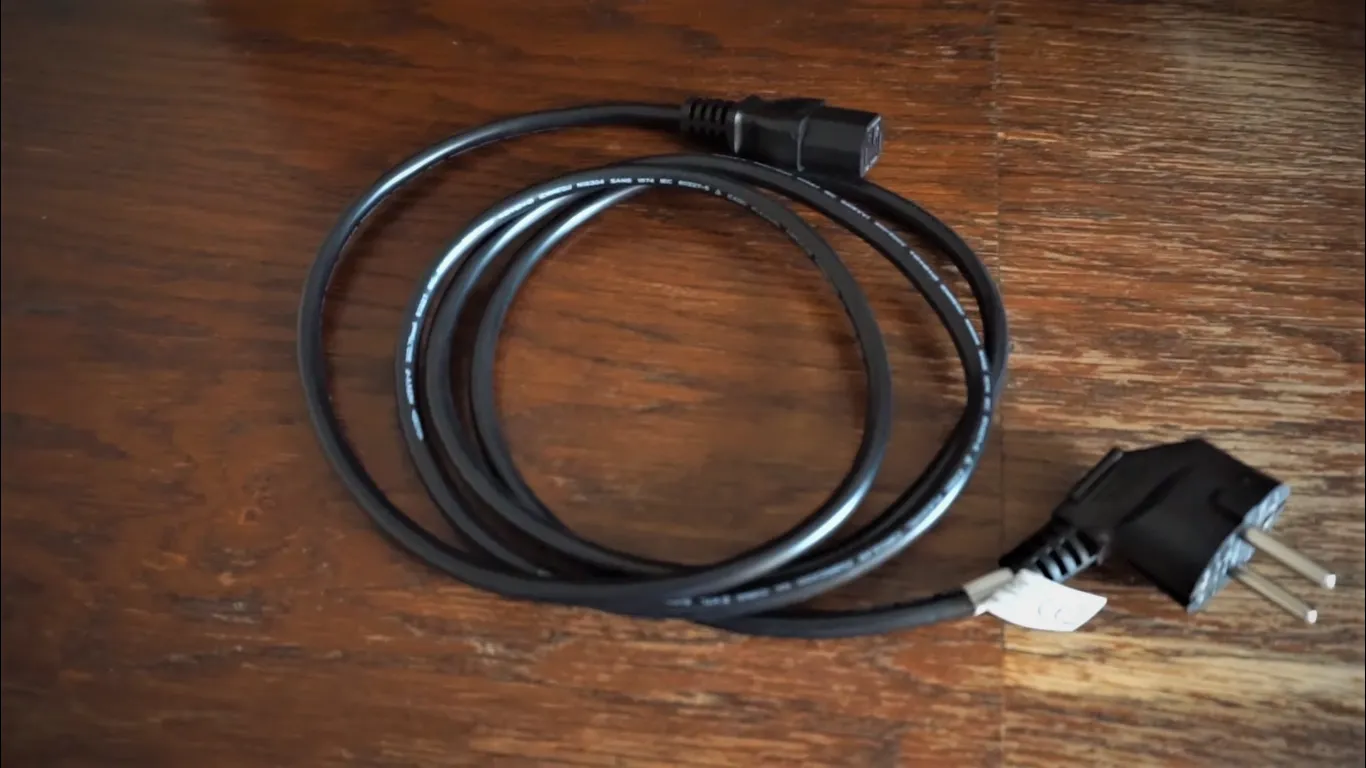
The power supply cable bridges the power supply unit and the Motherboard. It delivers energy to all the components and turns them on to contribute to the processing. The PC power supply connections cannot work until you get them all a CPU power supply cable. It has various subsidiary cables to connect different devices on board to initiate the process.
However, in this article, I’ll talk about how to connect power supply to Motherboard. If you follow the steps below with due care, I hope it will help you develop a better understanding, and you won’t need any other guide.
Types of Power Supply Cable
There are usually three significant types of cable you get to use for the power supply with your PC.
- The first one is the AT power supply cable, which was very popular in old PCs and played the ultimate role for senior fellows.
- The next one is the ATX power supply, and it is not so common in use anymore but still exists, so we are talking about it.
- The third CPU power supply cable is the ATX-2, the most commonly used and popular supply cable these days.
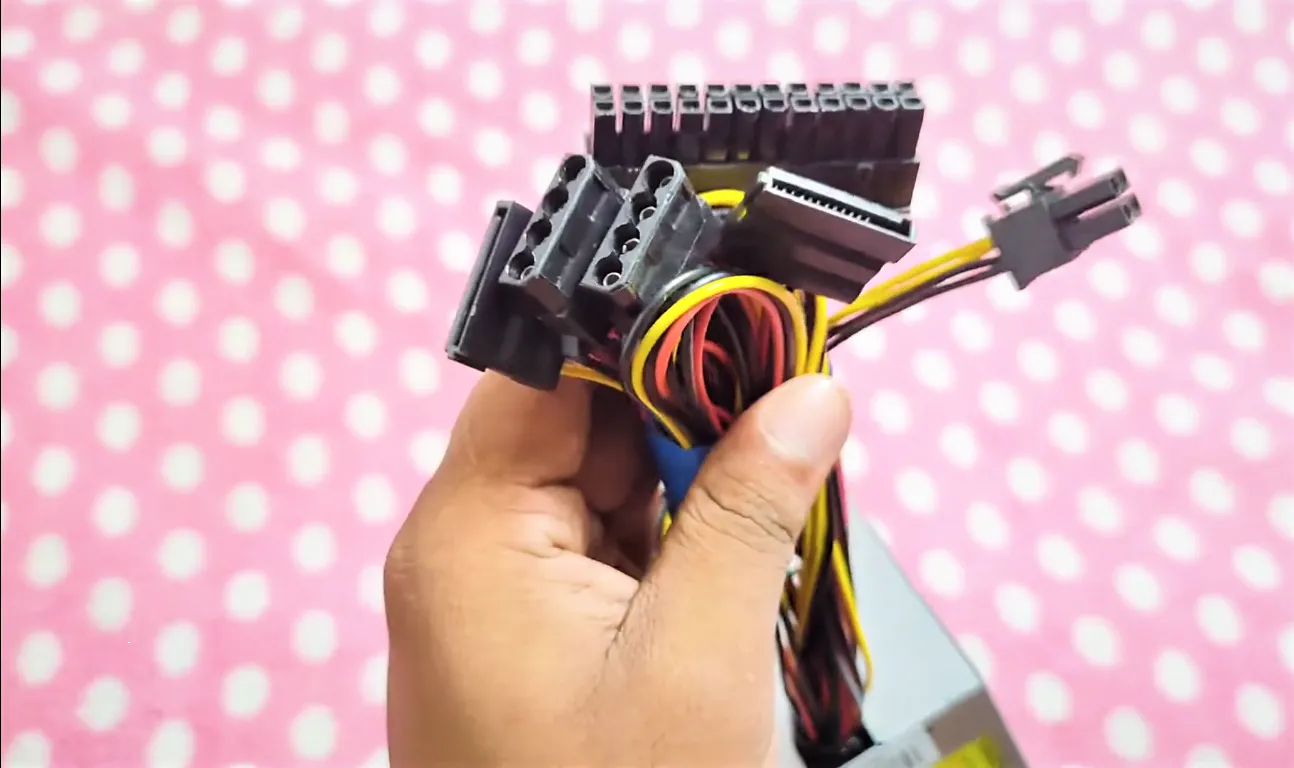
There are tons of PCs you get to turn on because of ATX-2, and it comes with the most accessible options with a dynamic architecture. And if we glance at the modular power supply cables, you get 20 to 24 pins-ATX CPU cable, and sometimes it offers PCIe facility too. Moreover, studying the Computer power supply wiring diagram gives you more clarity with essential details.
7 Steps Power Supply Cables Guide
A complete mechanism will help you with the power supply cables, and I prepared this guide to enable you to do everything in the right way possible. So, let’s get started with the first option.
1) Connect the Cable with the PSU
Whether modular or semi-modular, you need to check out the specifications guide to make a rational move for connecting the cable with the PSU. You at least need to get 24 pins cable and attach it to the Motherboard and an eight pins cable with the processor.
The major components will be ok to have an accurate connection medium for the power supply. Before you move further, please ensure the attached cable is fully stuck with the recipient and there is no hazardous condition that might trouble the power supply process.
2) Establish the PSU Connection on the Motherboard
Before inserting the supply cable in the slot, you need to ensure it is the right pair. Because you need a push to make it connect, and if anything is wrong with its pin count or structure, you might lose your PC or the supply cable.
It may cause your Motherboard to stop working, and it seems dead. You can also learn how to know if the Motherboard is dead, so you need to be careful while connecting the PSU cable to the Motherboard.
3) Attach 24 Pin Cable to the Motherboard
Once you are 100% sure about the right slot, insert the PSU cable, and now you are good to go with the flow. Before any other cable, it is better to start with the large one, with 24 pins. It provides the power back up to the main board. The count of pins may vary from system to system, but these days most PCs require 24 pins, and you can get help from the motherboard diagram to learn it perfectly.
4) Attach PCIe Cable to GPU
Attachment of the PCIe cable to the GPU is another level of comfort. These days, most graphics cards require a direct connection to a power supply. And you have to take the help of PCIe cable slots to connect it with the GPU. Generally, modern PCIe cables come in a pair, and the pattern of pins goes like 6+2.
5) Attach 8-Pin CPU Power Cable
There is another cable having 8 pins, and it solely empowers the processors. There is an arrangement of 4+4; you need to trace it out on the PC near the CPU socket to attach it accurately. You can also get help from the motherboard diagram. I hope you’re enjoying the quest for knowledge about how to connect power supply to Motherboard so far.So, let’s grab the next one.
6) Attach SATA Power Cables to Storage
SATA ports are also crucial to getting additional devices on board. The storage devices such as SSDs, HDDs, and optical drives are based on SATA power cables. Moreover, you can also connect some other accessories, including a CPU liquid cooler. To join the max number of SATA drives, you may get help from Molex connectors if needed.
7) Make Sure All Necessary Cables are Connected
In the end, ensure all the cables are on board and there is nothing wrong with any thread regarding its connectivity. You can also give some finishing touches and can physically check the wires and ports to ensure that they work optimally. Unbreakable power supply transmission is the key to reliable PC usage.
Types of Power Supply Connectors and their Functions
As we have explained the power supply cable, we’ll talk about power supply connectors types. There are five main connectors, and I have explained each with their functions. All you need to lend your eyes to the headings below.
1) 20/24 ATX
It is the connector that helps you turn on the Motherboard, and pins may vary with pcs, but these days the benchmark count is 24 pins
2) ATX P4
You plug it into the Motherboard, and it delivers the power to the processor
3) MOLEX
Molex connectors help you connect the hard drives, and you may also find some GPUs that require Molex for power
4) SATA
These connectors power up the drives by following SATA standards and slots
5) PCI Express:
These days, graphics cards come with modern technical details and ask for robust power, and PCI Express helps them to attain the required power
So, these five power supply connectors help you achieve the best connectivity without any lag and snag. The pins count may vary with each type of connector, and you need to choose the right pair that goes well for your power supply system. Moreover, the power supply cable types are not so broad but get you a cover for the major components in your PC.
The 24 pins cable is helpful to supply power to the Motherboard, the 6/8 pins provide power supply to the graphics card and SATA cables, and the 4/8 pins for power supply to the processor. So, it is how to supply power to each principal component in your pc and how to connect power supply to Motherboard.
There is a sine procedure; all you need to do is to attach 24 pins cable. First, add smaller ones with four pins; then, you can go for the wider one. It will require a careful push to ensure it is fully lived with no significant flaw. And you are good to go with the connectivity of the power supply cable.
They are no rocket and separate science of how to connect power button to motherboard ASRock, gigabyte. You must follow three steps: locating the front header, determining pins, and connecting the jumper with the pins. If you wonder how to connect the power button to motherboard Asus or any other board, the same process can help you considerably.
Having read the details above, you must have known how to connect the power supply cable to the Motherboard well. There are seven simple steps you need to follow to attain an unbreakable power supply for the diverse components in your PC. Moreover, I have explained five different power supply connectors and their functions above. So, I conclude that the power supply cable transmits the power from PSU to the Motherboard and other components.
SUMMARY


