One of the crucial parts of any PC is the power supply unit. You can decide if your system has the optimal configuration for your computer or gaming needs by knowing the precise specifications of your PSU. Finding a simple technique to examine a PSU’s specs is challenging due to the nature of PSUs. This article explains how to check power supply on PC.
How To Check Power Supply On PC Windows 11?
The motherboard and the power supply unit, or PSU, do not speak to one another directly. Therefore, neither through third-party applications nor inside the OS is there a method to determine the specifics of your PSU.
Let’s see how to check Power supply on PC Windows 10/11:
How to Check Power Supply on PC Software?
How can I check my PC power supply without opening it? To see voltages for each system component, use Open Hardware Monitor or HWMonitor. The other functions that these tools offer can also utilize. To test the power supply using Open Hardware Monitor, follow the steps provided:
- Click on Download Open Hardware Monitor 0.9.6 from the Open Hardware Monitor webpage.
- To download this software, click Download Now.
- Double-click the extracted folder to launch it after extracting the downloaded zip file.
- To launch the OpenHardwareMonitor program, double-click on it.
- The voltage values for each sensor are displayed here.
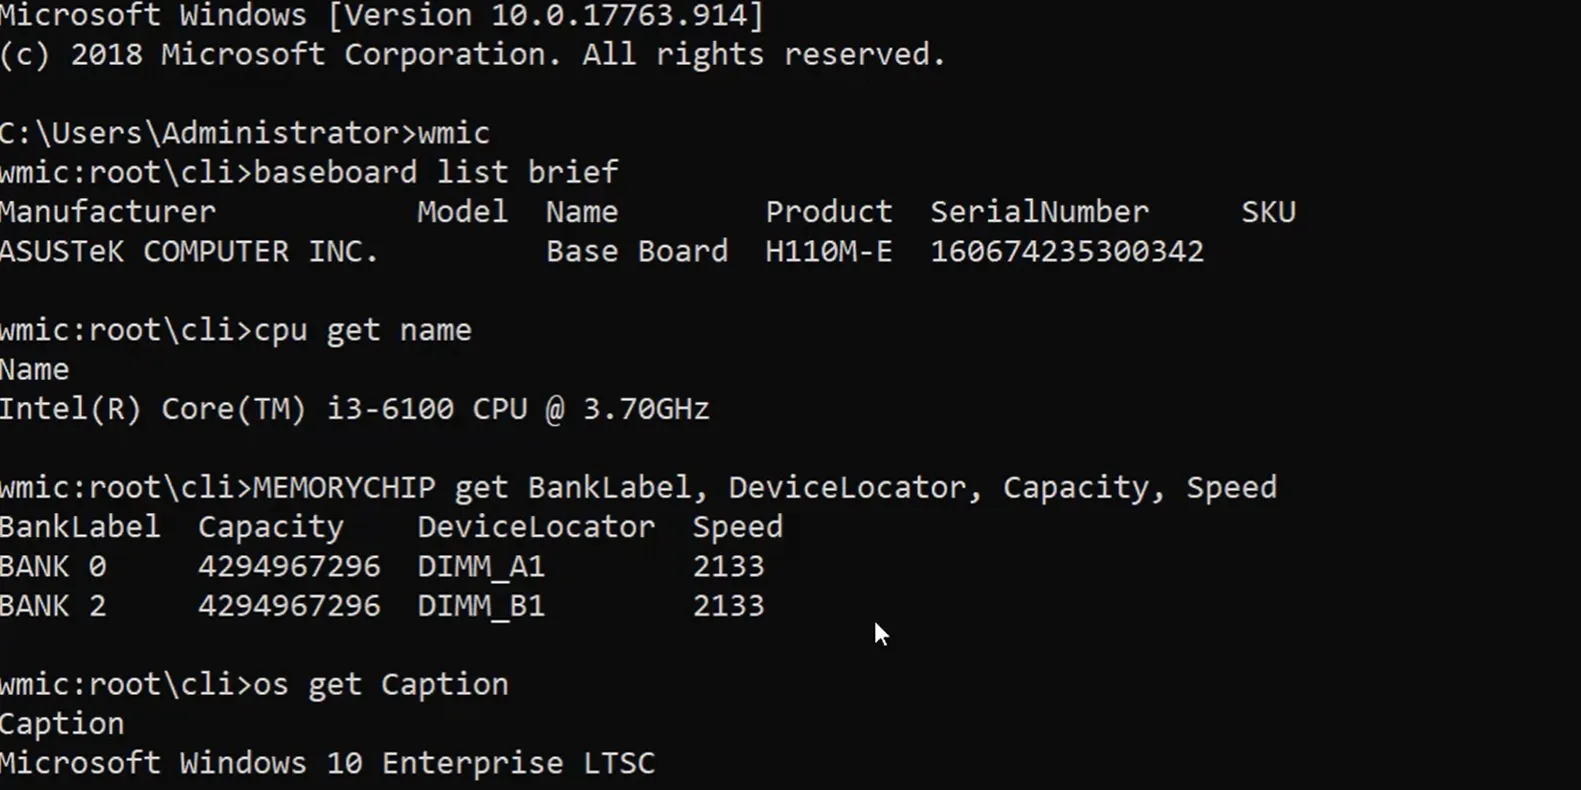
How to Check Power Supply on PC CMD?
Using the Command Prompt, you can discover the power states accessible on your machine.
- When you hover your mouse over the Command Prompt and input cmd in the Start Menu, choose Run as administrator.
- Enter after you type the following command: powercfg /availablesleepstates.
Two lists of power states will display. One is a list of supported power states, and the other is a list of those not supported.
How to Check Power Supply on PC With Multimeter?
It’s time to verify that each pin receives enough power from the PSU. 13 pins divide into the 3.3V, 5V, and 12V groups. You must test the voltage on these pins. Don’t turn off your PSU for this test because it needs to be on; leave the power on the bridge alone. If you’ve never used a multimeter before, read this guide on how to use one.
- The COM jack should receive the black test lead.
- Connect the red test led to the VΩmA/μA jack (your multimeter’s labeling may differ somewhat).
- Set the dial of your multimeter to read the DC voltage after turning it on. A V places next to a solid line with a dotted line underneath, denoting this.
- Connect a COM pin on the connector of your PSU with the black test lead.
- The PSU pin you want to test should connect to the red test wire.
- See what your multimeter reads for voltage.
- Repeat this procedure to ensure the remaining pins supply the correct voltage.
How Do I Know If My Power Supply is Bad on My PC?
If you’re dealing with these problems, your power supply may malfunction or fail.
- Failure of power-on.
- Rebooting On Demand.
- Lockups during application use on occasion.
- The fan and hard disk fail to spin up at the same time.
- Failure of the fan causes the power supply to overheat.
- A small-size Brownouts forces the system to crash and restart.
- When the case is touched, electric shocks occur.
- With no LED on the motherboard glowing, the system is utterly dead.
- A PSU or other component is smoking.
- When the computer turns on, nearby circuit breakers pop.
Overheating, abrupt shutdowns or lockups, and unusual electric shocks you hear or feel within or outside the casing are all potential hazards. If the power supply fails as well, your computer will be dead. A broken or dead PSU could catch fire, start a fire, or even trip your home’s circuit breaker.
Transformer units are typically in the power supply to step up or down the voltage. The extremely high voltage that transformers create might be hazardous. As a result, it advises against you trying to fix your power supply on your own unless you’re a skilled technician.


