In the beginning, when I was new, I faced very hardship in testing my motherboard. And with time, I learned several ways to test motherboard without CPU. If you want to test your motherboard without a CPU, you can use a few different methods I have applied in the past.
As we all know motherboard is one of the essential parts of a computer. The central nervous system connects all of the other components. If there is a problem with the motherboard, it can cause problems with all other components. That is why it is essential to test a motherboard before using it.
By testing it, you can ensure that everything is working properly and that there are no potential problems. In this article, I will tell you everything you need to know about how to test a mobo without a CPU.
How to Test a Motherboard without CPU?
Being a PC builder or hardware tester, there may come a time when I need to test a motherboard outside of a traditional PC build.
Maybe you’re also thinking about troubleshooting a board or testing a new feature. Whatever the reason, it’s pretty easy to test a motherboard without a CPU. Here’s how to test motherboard without CPU.
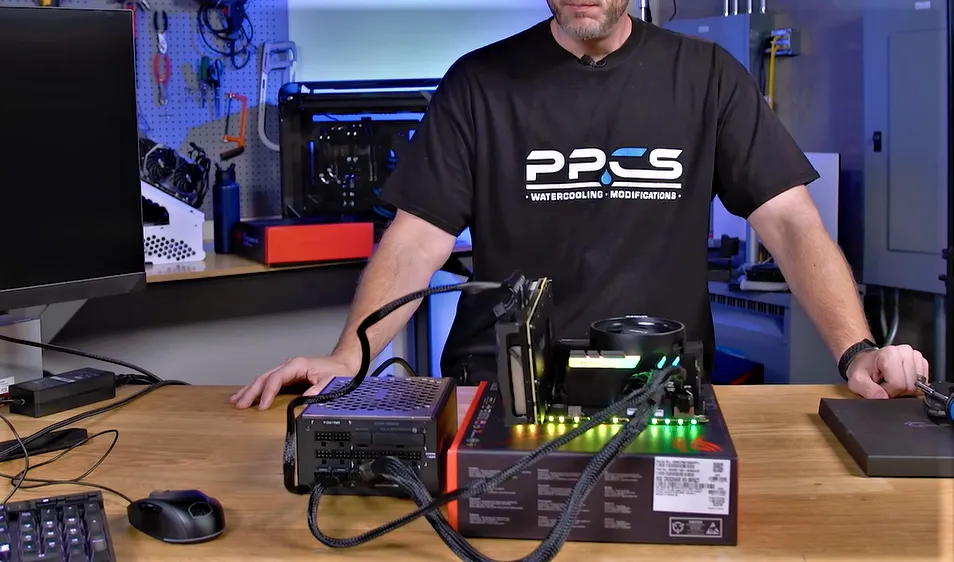
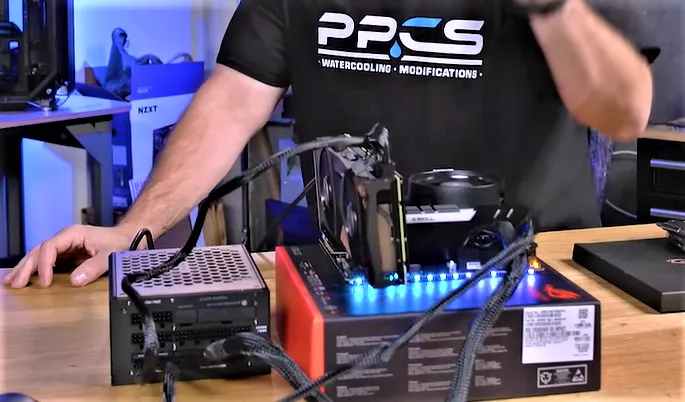
- Gather the necessary equipment. In addition to the motherboard, you’ll need a power supply, a speaker, and some jumper wires.
- Connect the power supply to the motherboard.
- Connect the speaker to the motherboard. Again, make sure that all of the connections are secure.
- Find the two pins labelled “Power LED” on the motherboard and short them with a jumper wire.
- Plugin the power supply and flip the switch to the ON position.
- If everything is working properly, you should hear a beep code. This indicates that the motherboard is receiving power and is functioning correctly.
- If you don’t hear a beep code, something is wrong with the motherboard and will need to be replaced.
You can follow these steps to know how to test motherboard power; it is a straightforward process. You can quickly troubleshoot a board or test a new feature by following the steps above.
how to do
Motherboard Testing in Different Situations
Some different situations and needs evoke you to test your motherboard. I will explain basic and prominent ones to make your PC work better. You can leverage the below-mentioned info related to your motherboard testing for better results.
1) Use of Multimeter to Test a Motherboard
This section will show you how to test motherboard with Multimeter. You will need a few tools, including a multimeter, a screwdriver, and a willing helper.
It is not a difficult task, but it is essential to know how to do it correctly. The first thing you need to do is find a suitable Multimeter for the job.
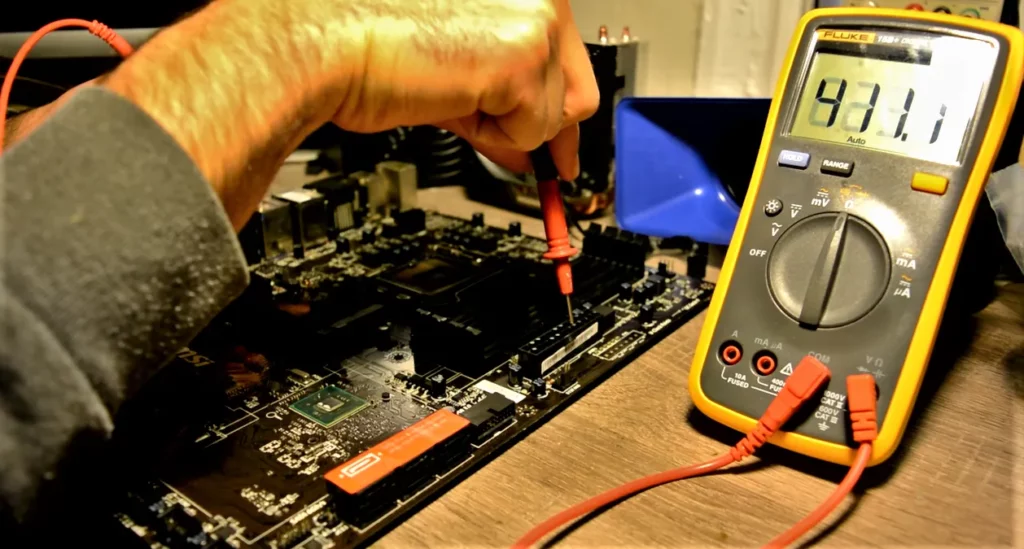
There are many different types of multimeters on the market, so it is essential to find one specifically designed for testing motherboards.
- Once you have found the suitable Multimeter, the next step is to find the correct test points on the motherboard. These test points are usually located on the back of the motherboard, near the CPU socket.
- Next, you have found the correct test points, and you need to connect the positive lead of the Multimeter to the positive test point and the negative lead of the Multimeter to the negative test point.
- After doing this, you should see a reading on the Multimeter and test motherboard without CPU.
If the reading is within the normal range, the motherboard will likely work correctly.
While, if the reading is outside of the normal range, then there may be a problem with the motherboard. In this way, you can also test motherboard without PSU.
2) Testing Your Gigabyte Motherboard without a CPU
If you’re looking to test gigabyte motherboard without CPU, there are a few different ways to do it. In this section, I’ll walk you through a step-by-step guide on doing just that.
- To test a Gigabyte motherboard without a CPU, you’ll need first to remove the CPU from the socket.
- Next, locate the 24-pin power connector on the motherboard. This is usually situated near the CPU socket.
- Using a flathead screwdriver, carefully remove the plastic cap from the power connector. Be alert not to harm the socket.
- Once the cap is removed, you’ll see two metal prongs. These are the positive and negative terminals for the power connector.
- Connect the positive terminal to the negative terminal using a small piece of wire.
- Finally, plug the power cord into the motherboard and turn on the power switch. If the motherboard powers on, then it’s working properly.
3) Test Motherboard Without CPU & RAM
If you want to test motherboard without CPU and RAM, you can do a few things I have done several times and believe me, they work.
- First, you can check if the motherboard is getting power by testing the voltage at the power supply connection.
- Next, you can test the motherboard’s CPU and RAM sockets by using a multimeter to check for continuity.
- Finally, you can test the motherboard’s PCI and PCIe slots by connecting a device that uses those slots and see if it works.
In this way, you can also test motherboard without RAM and check if it is properly working.
4) Testing a Motherboard Before Installing
If you plan to install a new motherboard, you need to do testing a motherboard before installing it. It ensures that the motherboard is functioning properly, and I have applied this method to ensure it works.
Here’s how to test a motherboard before installing it:
- Unplug all power cables from the motherboard.
- Find the 24-pin power connector and the 4-pin power connector on the motherboard.
- Connect the 24-pin power connector to the power supply.
- Connect the 4-pin power connector to the power supply.
- Plug in a power cable to the power supply and turn it on.
- Look for a green light on the motherboard. This indicates that the motherboard is receiving power.
- Press the power button on the motherboard.
- The motherboard should power on. There may be a problem with the motherboard or its part if it does not.
5) Testing Motherboard without Processor
Do you want to check your motherboard without a processor? You need to take a few steps and follow my lead. Here’s how to test motherboard without processor:

- Unplug all power cables from your motherboard.
- Place the flathead screwdriver on one of the jumpers and gently push down.
- Hold the screwdriver in place, and count to five.
- Remove the screwdriver, and repeat the process with the other jumper.
- Plugin the power cable into your motherboard.
- Press the power button of the motherboard.
If the light on your motherboard turns on, then your motherboard is working.
What Is Fault Testing of Your Motherboard
If you suspect that your motherboard may be faulty, it’s essential to test it as soon as possible to see if it needs to be replaced.
To know how to test motherboard for faults, like me, you’ll need to gather a few tools, including a Multimeter, a screwdriver, and some jumper wires.
- Once you have your tools, the first step is to unplug all your motherboard cables.
- Next, you’ll need to remove the CPU from the socket. You’ll need to release the locking lever on the socket and gently pull the CPU out.
- With the CPU removed, you can now access the various connectors and components on the motherboard.
- Using your Multimeter, you’ll need to test each voltage regulator on the motherboard.
- Once you’ve tested the voltage regulators, you’ll need to test the capacitors on the motherboard.
- Finally, you’ll need to test the crystal oscillators on the motherboard.
Once you’ve tested all of the components on the motherboard, you can reassemble your computer and plug it back.
There is no definitive way to test whether a motherboard is dead. However, a few methods can determine if a motherboard is functioning properly. One method is to listen for beep codes. If the motherboard is dead, the computer will not produce any beep codes. Another method is to check for visual signs of damage, such as burned or missing components. Finally, if the motherboard is suspected to be dead, it can be tested with a multimeter.
Yes, you can easily test motherboard without CPU. However, some motherboard tests will not be able to run without a CPU. Additionally, you will not be able to install an operating system without a CPU.
The answer is, No. A motherboard will not beep without a CPU. The CPU is required for the motherboard to function.
No, the motherboard will not turn on without a CPU fan. The CPU fan helps to cool the CPU and prevents it from overheating.
The easiest way to test a motherboard is to connect it to a power source and a monitor and then attempt to boot up the computer. If the computer boots up successfully, then the motherboard is working. On the other hand, if the computer does not boot up, the motherboard may be defective.
You can test installing a second CPU by installing it in the CPU socket and connecting the appropriate power cables. Once properly seated and connected, you can boot up the computer and test for proper functionality.


