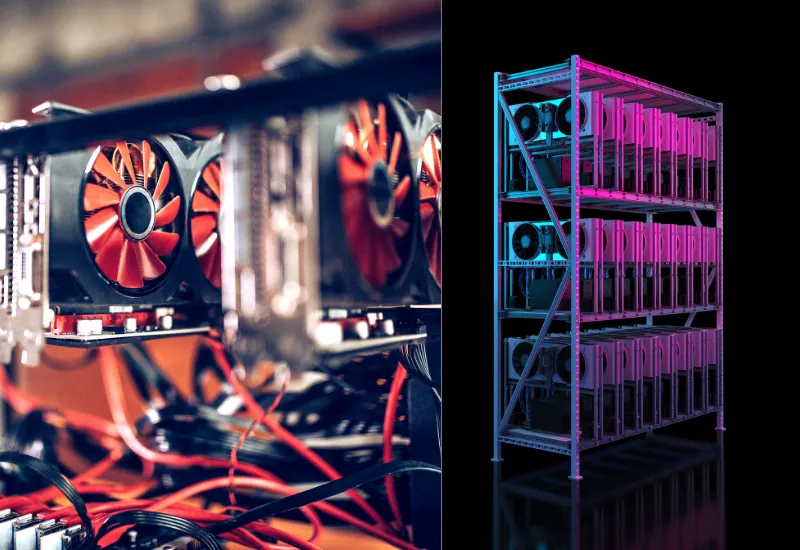
Your GPU will look magnificent when mounted vertically with all the brilliance on display. They will look lovely standing vertically in your room, mainly if you have adorned your PC with lights and various accessories. In the PC gaming world, vertical GPU mounting has grown in popularity to display bespoke graphics cards.
In addition to looking good, it can help your GPU’s ventilation and cooling. Several methods can use to mount a vertical GPU. The most common technique is mounting a vertical GPU bracket to the motherboard’s rear. Alternatively, you can fasten your GPU to the motherboard using Velcro or double-sided tape. Let’s see how to vertically mount GPU.
What is the Advantage of Vertical GPU?
The looks or aesthetics are the main benefits of putting a GPU vertically. Your gaming computer will have a contemporary appearance and enclose most of the motherboard. Given that most GPUs include RGB lighting, it will also make your gaming setup more visually appealing.
One advantage of vertical mounting is that it prevents GPU sagging, which occurs when your graphics card sags in horizontal installations due to the weight of the card and a lack of support. It is simple to fix for vertical installations because a GPU support bracket may use to stop it.
Are Vertical or Horizontal GPU Mounts Better?
Vertically mounted graphics cards have a certain attractiveness. They may obstruct all the PCIe slots on your motherboard. Additionally, you can restrict the airflow that cools your graphics card, which could become too warm, particularly in the summer. But horizontal GPU positioning generally provides greater ventilation, which improves performance even when overclocked.
Horizontal mounting improves airflow and lowers temperatures because the graphics card, which positions up against the glass panel, is not in the way of the components. Even when overclocked, horizontal GPU installation typically provides greater airflow, which improves performance.
Your brand-new motherboard is now more likely to malfunction as a result. It can accomplish by mounting your GPU vertically because most vertical installations have some form of physical support, which relieves stress on the motherboard.
How Do I Use Vertical GPU?
If you’re wondering how to mount the GPU vertically, follow these steps:
- Screws attach the bottom bracket to the side bracket.
- The PCI-e riser cable should connect to the bottom bracket, and you should use screws to hold everything in place. Therefore, it makes sense to purchase a riser cable if you don’t already have one.
- Install the graphics card in the riser PCI-e slot, ensuring the bracket is fast with screws.
- If your PC case doesn’t already have a vertical GPU slot or bracket, you can buy one to mount the graphics cards vertically.
- After attaching the motherboard ribbon to the riser cable, attach the bracket to the chassis and tighten the screws.
- You finish after this! Enjoy your PC case’s fresh, appealing appearance.
However, you must first confirm that the PC satisfies all mounting criteria for the GPU before you begin vertically mounting it.
How To Mount GPU Sideways?
The vertically placed graphics card may hamper the airflow inside the PC’s chassis. You should install two intake fans on either end of the enclosure and one exhaust air fan in the back to avoid this. Let’s dive in!

Step#1: Unbox the Vertical GPU Mount Adapter
Unboxing the vertical mount adapter, you purchased from an aftermarket retailer is a basic procedure. You must be aware of the equipment you will give. The riser card for vertical GPU mount PCIe 4 express cable, which will link your graphic card to your motherboard, will be the first thing you see.
Due to the way your GPU mounts in the case, you will then see a 90-degree display port. However, you must be able to access it because it recedes into the case slightly. Depending on your aftermarket product, you might have two fantastic 90-degree display port cords.
Be careful that a lot of aftermarket adapters require seven slots. You must make sure your case has seven open slots as a result. Let’s go on to the next phase after it finishes.
Step#2: Putting the Adapter Plate
It will be obvious whether the plate fasts when the notches are towards the side of the motherboard and when they join the casing. The PCIe connector is then mounted using normal screws to secure the plate.
Make sure you’ve attached the bottom of the plate to an adapter plate before you attach it. Since your riser card will join the bottom portion, it is essential. Use the supplied screws to connect the two plates, ensuring that the screw holes line up between the plates.
Step#3: Sign Up for the Riser Card
Once you’ve attached the lower piece, you can align the riser card’s holes with the bottom component. Verify the precise alignment of your riser. After installing your screws, tighten the riser.
Step#4: Connect the Graphics Card
This process is easy. Use screws to fasten your graphic card after attaching it to the riser card. The joining procedure is comparable to a horizontal GPU join. Once you’ve finished, you can mount your vertical GPU mount to your case.
Step#5: Complete the Installation
The motherboard’s ribbon cable needs to connect to the riser as the last step. The mounting bracket should then screw onto the case, after which it can attach. Congratulations! Your old PC’s appearance will replace with a more modern one.
The Vertical Graphics Card Holder requires only 4 screws for a secure installation of your graphics card despite taking up 7 PCI slots.
Yes, Nvidia designed a brand-new 12-pin power connector specifically for its GeForce RTX 3080 Founders Edition’s reduced custom PCB. The Founders Edition includes an adaptor that transforms two 8-pin power cables into the new 12-pin connector.
The bracket is installed in the next two case slots, just below the screws holding the GPU in place. After inserting the card into the PCIe slot and tightening the screws holding it in your case. Attach the bracket to the two screws immediately below it.


