The motherboard is practically the mother of all circuit boards. It can compare to the brain because it controls all the functions of the processor with one hand. It designed in such a way that you don’t need wires to create the feeling of chains.
The computer motherboard provides the foundation for most of the machine’s components, allowing complex circuits to use without confusing wiring diagrams.
However, from time to time, you need to check the motherboard voltage or troubleshoot it. This is where multimeters come in handy. You can test or troubleshoot your PC motherboards at home with multimeter and detect common electronic circuit problems.
3 Steps:
- How to Check Motherboard Voltage?
- How to Test a PC Power Supply with a Multimeter?
- How to Test a Motherboard without A CPU?
So we will find out below how to test motherboard with multimeter for dropping voltage supply.
How to Check Motherboard Voltage?
It sounds overwhelming, but checking and testing the motherboard with a multimeter isn’t too bad. There are just a few steps left to complete, and voila. You will find out if any errors need to be fixed or if your motherboard is in perfect condition. The steps for checking DC voltage are slightly different. Here it is:
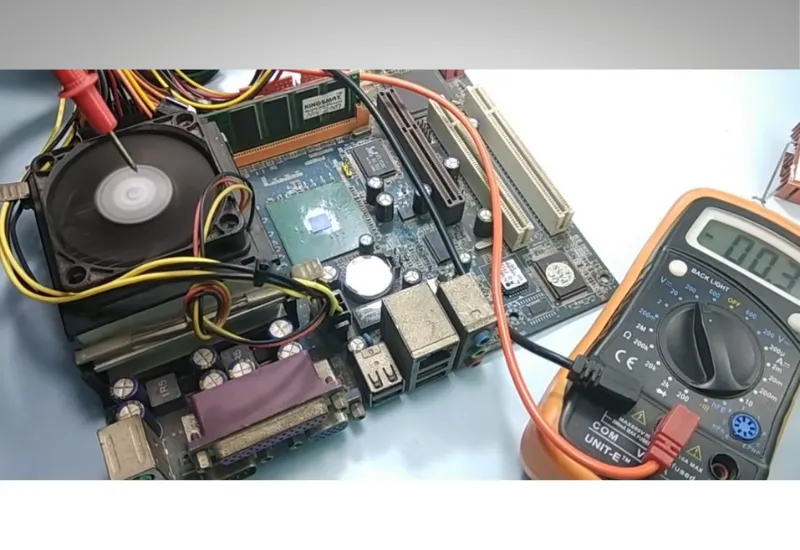
- 20-pin ATX must be connected to the motherboard, which must connect the computer to a power source.
- The multimeter setting should be 20 VDC.
- Use the black multimeter lead to check the rear panel connector. It should touch pins 15, 16, and 17.
- Otherwise, the sensor should read 9 and 14 pins. Pin 9 should read 5V, and pin 14 should read 3 to 5V power on PC.
- If the reading result drops to0, everything is fine. Otherwise, you have a problem that needs to be fixed.
- Now you need to try the sensor again and use it to test pin 8. Ideally, it should be greater than 2.5V. Press Reset and see if the reading drops and then comes back again. It needs help if it doesn’t come back.
Corsair RM Series, 850 Watt Power Supply
How to Test Motherboard Power Short Circuits?
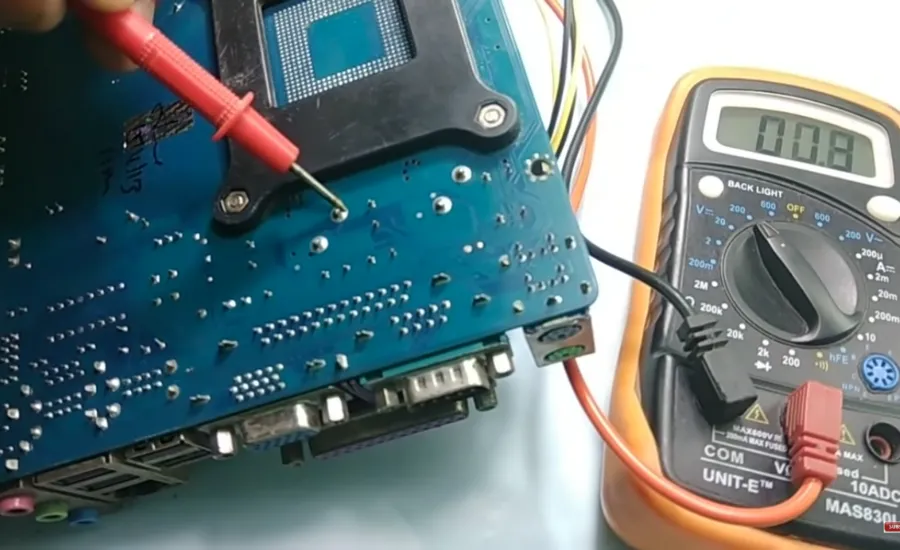
We’ll talk about short circuit testing, as this is a common problem during an electrical failure.
- Would you mind turning off your computer and unplugging it? Please wait a few minutes for it to cool entirely and not charge.
- Remove the multimeter and set it to the minimum value. This is usually 200 ohms.
- For the counter to reset to zero, it is necessary to connect both wires. Then check it on the chassis to make sure it is still zero.
- Open your computer to find the motherboard.
- Remove the ATX connector from it. The red wire goes to the AC ground terminal on the power supply, while the black wire remains in the chassis. The black cable pins should be in the DC jack. Even at this point, all readings should be zero.
- Now, making sure the black wire is still in place, use the red wire to check all the colored wires 50 or more is fine. Anything under the age of 50 is problematic. You can also continue checking for errors.
- Remove the motherboard completely from your system. Check the 20-pin ATX chart to find out the number of pins on your motherboard. Use the red wire to test each GND pin. The values 3, 5, 7, 13, 15, 16, and 17 should all be 0. If you see different readings, then there is a problem.
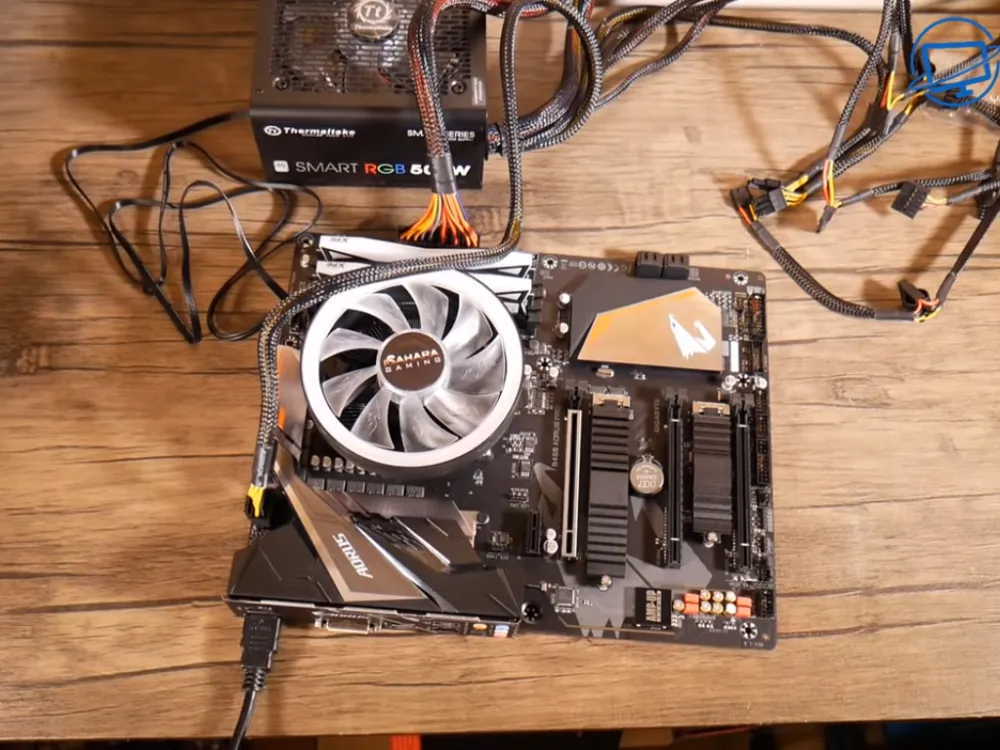
How to Test a PC Power Supply with a Multimeter?
Checking the wattage manually with a multimeter is one of two ways to check the wattage on a computer. A successful test of the PSU with a multimeter will confirm that the PSU is working properly or needs replacement. You should follow these steps to know How to Test a PC Power Supply with a Multimeter.
Get OWUYUXI Digital Multimeter
- Read important safety tips when repairing your PC, as this process is fraught with dangers. Manual testing of power supplies involves working closely with high voltage electricity.
- Open the computer case. In a nutshell, this includes shutting down the computer, unplugging the power cable, and unplugging everything else connected to the external computer and an open computer case in an easy-to-use location, such as on a desk or other flat, non-static surface.
- Disconnect the power connectors from each indoor unit.
- Bundle all power cables and connectors to facilitate testing. When routing power cables, we strongly recommend that you redirect and pull them as far away from the computer as possible to make it easier to check the power connections.
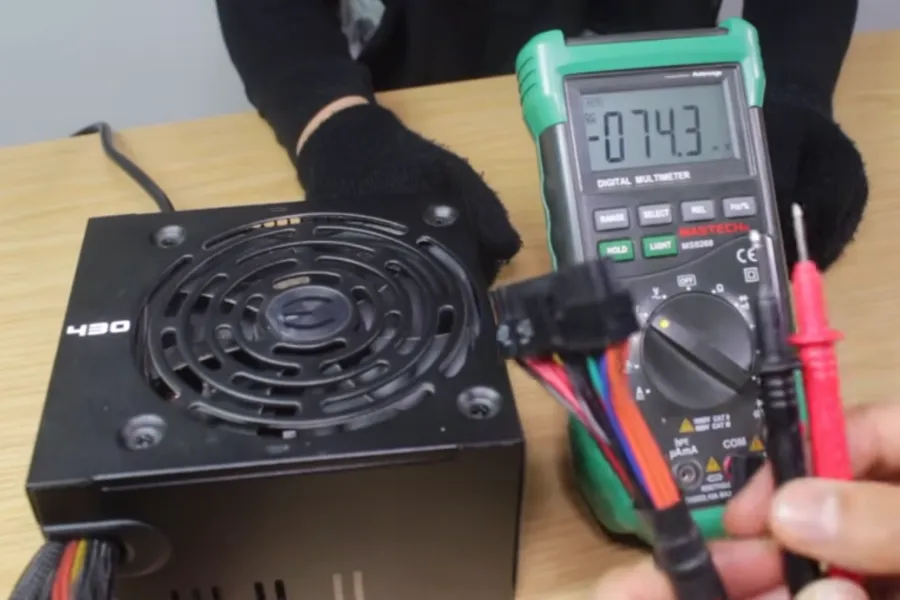
- Short-circuit pins 15 and 16 of the 24-pin motherboard power connector using a small piece of wire. You should probably look at the 24-pin 12V ATX PSU pinout to find these two pins.
- Check that the mains voltage switch is in the appropriate position to your range.
- Plug the power supply into a power outlet and turn on the switch on the back of the power supply. Assuming the power is running at its minimum level and you shorted the contacts correctly in step 5, you should hear the fan start to run.
- Some power supplies do not have a switch on the back of the unit. If the power supply you are testing is unavailable, the fan will start running when the unit is plugged into the wall.
- Switch on the multimeter and turn the dial to the VDC (Voltage DC) position.
- The 24-pin main power connector has +3.3 VDC, +5 VDC, 5 VDC (optional), + 12VDC, and 12VDC lines on multiple pins. We recommend that you test all contacts of the 24-pin connector under voltage. This will confirm that each line is supplying the correct voltage and that each pin is correctly terminated.
- Record the number displayed on the motherboard voltage diagram by the multimeter for each tested voltage, and verify that the indicated voltage is within the approved tolerance. You can refer to the power supply voltage tolerance for a list of the appropriate ranges for each voltage.
- Turn off the switch on the back of the power supply and disconnect it from the wall.
- Connect all internal devices to the power supply to remove the short you done in step 5 before reconnecting the 24-pin power connector.
- Connect the power, turn on the rear panel switch if you have one, and then turn on the computer normally using the power switch on the front panel of the PC.
- Repeat steps 9 and 10, checking and recording the voltages of other power connectors, such as the 4-pin peripheral power connector, the 15-pin SATA power connector, and the 4-pin software power connector.
- After completing the test, turn off and unplug the PC, then close the lid back to the box.
How to Test a Motherboard without A CPU?
These are the following functions for testing the motherboard without a CPU. Several functions play an essential role in improving the motherboard’s quality.
1) Power-On Self-Test
The most important thing to know when testing a motherboard without a processor is that it will not pass POST (Power on Self-Test), but some modern motherboards can update the BIOS without connecting to the processor.
The motherboard can be left without a processor, allowing you to test some of the board’s functions. For example, when you turn on the motherboard, all the corresponding power LEDs light up.
All the fans are on, so you can see how the motherboard’s cooling mechanism is working. While bright LEDs and spinning fans indicate that your motherboard can start and cool, they do not indicate that it is operating at other levels. So even after you’ve finished assembling your PC, you still can’t be sure that it will turn it on.
2) Built-In Speaker
When you turn on the motherboard, you can hear a series of beeps from the system with internal speakers. They are also known as “beep codes,” which indicate that your motherboard is trying to detect your processor, so they are usually a good indicator that you can connect to the processor.
While a beep may indicate that your motherboard is on and running, the absence of a beep should not be taken as an indication that it is not. If your motherboard powers on without RAM, it may emit a series of beeps, another excellent activity indicator.
3) Using Your Multimeter
If you are looking for a specific problem with your motherboard, you can diagnose it with a multimeter. The gaming community has stated that a multimeter can use to evaluate motherboards.
This sounds good; the average motherboard is very complex, so testing it with a multimeter is a laborious and time-consuming exercise that can take longer than assembling and then disassembling your PC.
The heart of any computer system is the motherboard. Hence, if you are building your gaming or regular PC, you should invest in the best motherboard you can find. It is essential to test motherboard with multimeter after assembling a PC, and it can be challenging to pinpoint the problem.
FINAL THOUGHTS:
As a result, many gamers want to test their chosen motherboard before installing it. Some gamers believe that running a motherboard without a processor will cause permanent damage to the motherboard. However, there is no evidence that the lack of a processor decreases the performance of the motherboard.


