The switches on mechanical keyboards provide a distinct, high-quality feel, which is excellent. They can have a linear press that is pleasant and smooth, a rounded bump, or a clicky push.
Mechanical keyboards are becoming more and more popular if you prefer to stay current with technological developments. Even though there are numerous switches on the market, not all of them work with all kinds of mechanical keyboards.
Whether you’re looking for the best gaming keyboard boils down to the touch. Ensure that your keyboard uses the appropriate switch for your purposes. I’ll demonstrate how to remove switches from keyboard in this article.
Can You Remove Switches By Hand?
Mechanical switches, particularly the 5-pin varieties, are difficult to remove by hand, and attempting to do so by force can harm both the switch and the PCB. Using a thin item, such as a butter knife or screwdriver, might potentially have disastrous results.
The cap and switch can both come off at once. If it does, simply hold the switch in one hand while using the other to remove the cap. A switch-pulling tool should be placed over the switch and snapped into place. Pull up straight and gently.
How Do You Pull A Switch?
The key puller is merely for your convenience. Virtually no tool is needed to remove the keycap from a mechanical keyboard. You can complete it without a tool. I’ll show you how to remove switches from keyboard without tool:
- Take the mechanical keyboard first, then take the keys out.
- Remove anything you can from behind the keys that you can change. It may be a house key or car key, a credit card, a paper clip, a screwdriver, etc. The item must be able to lift the keycap by applying pressure to it.
- If you have a paper clip, bend it to fit below the keycap.
- After adjusting it under the keycap, slowly pull it up.
- The keycap can pull off after applying some force.
Related Article: 5 Best Keyboards for Long Nails Review | Wired & Wireless
How To Remove Switches from Keyboard With Tool?
Here are the steps for how to remove hot swappable switches:
Tools Required
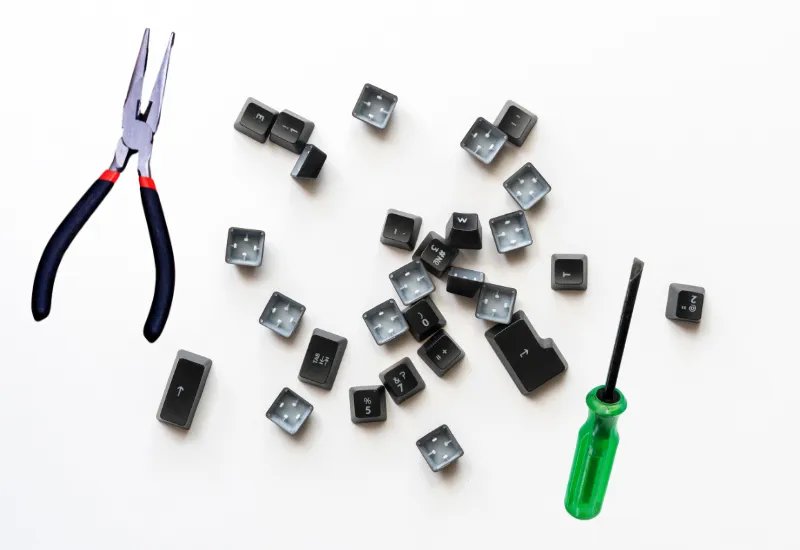
- keycap puller
- Switch puller
- Pliers
- Clippers
Step#1: Get the Replacement Switches Ready
Recognize the switches on your keyboard before you begin. Check to see if the keyboard is compatible with the switches. Moreover, use this chance to make any necessary changes.
Step#2: Take the Keycaps Off
Remove the keycaps first to reach the switches. Please refer to the Keycap Removal Guide if you need clarification on how to proceed. Although this procedure is rather simple, it must carefully protect the keycaps.
Step#3: Pull the Switches On the Keyboard
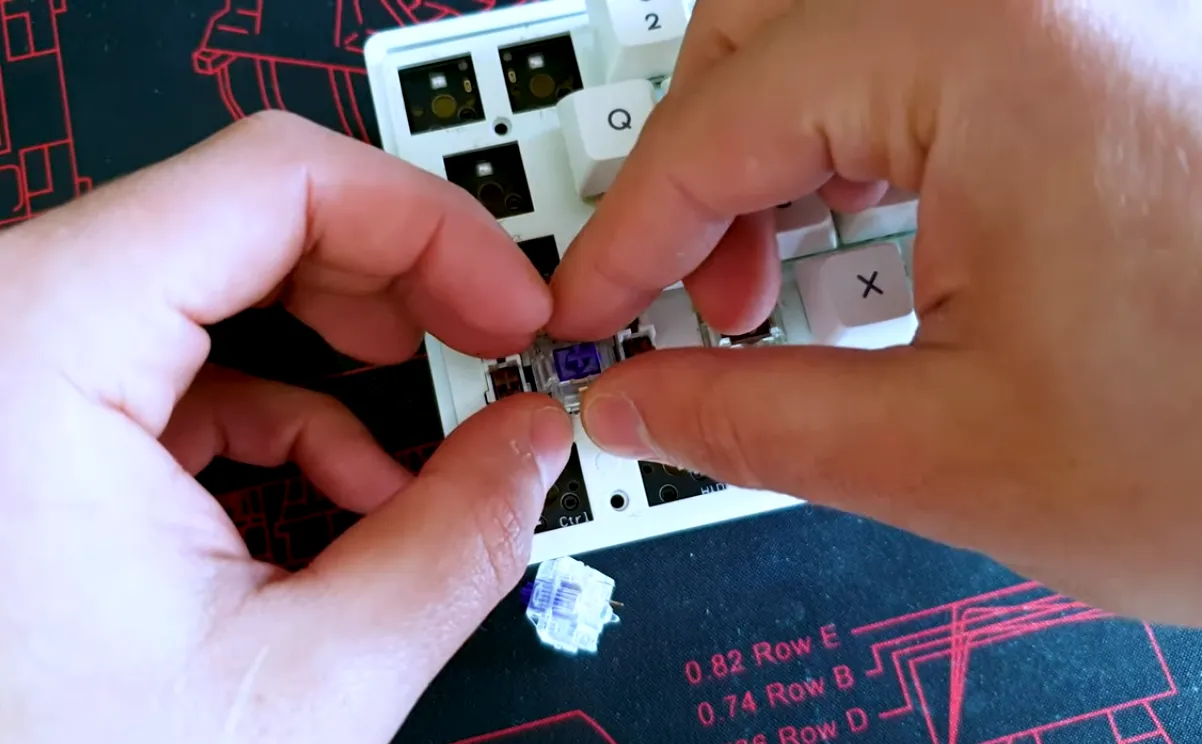
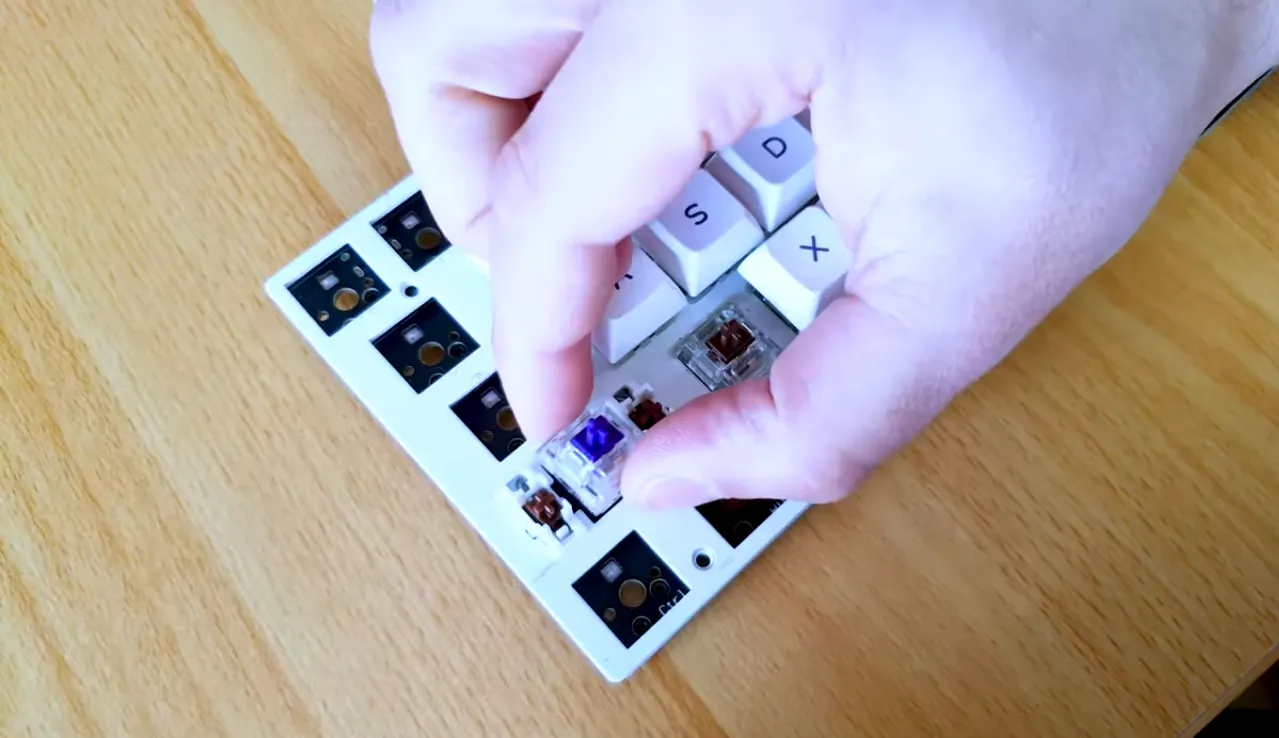
Utilizing your switch puller, remove the switches after all keycaps take off. To begin with, place the switch puller in the top and bottom gaps of the switch. Pull out the switches gently once a good grasp must form. Use a bit of force on switches that are a little tighter. When removing switches, support the casing with your free hand.
Step#4: Attach the New Switches
Drop the new switches in once all the old ones have been removed. Ensure that the switch’s pins line up with the hot-swap sockets. Pins may bend if the switches do not properly position.
Additionally, the switches won’t function if the pins are bent. Simply remove the switches and straighten any accidentally bent pins. Most switches are strong and won’t suffer long-term damage from being bent.
Step#5: Final Inspection and Keycap Installation
Drop the keycaps in after all the new switches are in place. Check to see whether the different keys sound right. Additionally, you can utilize applications like VIA Configurator to verify that all switches are operational. The steps must repeat to reseat any switches that don’t register properly. You have successfully changed the switches on your keyboard once everything verifies to be functional.
How To Take Out Switches From Your Keyboard in Laptop?
If you know how to remove switch from plate keyboard on the desktop. Removing the keys from your laptop is feasible, but you should try as little as possible to keep the keys from breaking. However, if something is spilt on the laptop, removing part or all the keys to clean underneath them may be essential. The instructions below will help you safely remove and reattach your laptop keys.
- Put your fingernail, a little flat-head screwdriver, or a knife under the corner of the key and gently pull up the keycap to release it from the keyboard. Try to pry as near the key’s center as possible while using a longer key, such as the spacebar key.
- The key frequently only releases partially in numerous circumstances. Use your fingers to fully detach the keycap if it still affixes to the laptop.
- When the key retainer must take off, the laptop will still have the pad in the center and be attached to it. It can take off the laptop if necessary. To achieve this, carefully twist a corner with the flat edge of a screwdriver or a knife until it comes off.
- After removing the key, pay close attention to the metal hooks on the keyboard previously occupied by the old key.
- The holes on the plastic hinge should align with the metal hooks, whether new or old.
- Place the smaller plastic object, sometimes referred to as a cup, evenly in the retainer’s middle.
- To press evenly on all four sides, replace the keycap.
Each switch has a small tab at the top and bottom. Before you squeeze the two tabs, use your tool to hook below them. By doing so, you’ll be able to pull the entire switch up by pressing the tabs in.
Sure! Use a switch puller to remove switches and a keycap puller to remove keycaps unless you purchase a unique 2-in-1 keycap-switch puller.
You may always construct your keycap puller if you want to do-it-yourself by bending the ends of paper clips into hooks, hooking the ends under the cap, and tugging upward. You can use needle nose pliers to handle the switch, but you must take great care not to damage the plastic.


