So you are ready for a change, after having spent the day in and day out devotedly looking at the same old case over and over again, the idea of seeing something different makes you want to scream. There is a way to do this, though. You can paint your computer case.
Painting cases is an cool way of renovating your old PC. And we are not talking about the new generation of plastic cases either; you can do this to any computer case. It’s fun and easy to customize your computer with a paint job, just like how it is possible to stuff it up as well. But don’t be frightened, as, with some simple instructions and a can of spray paint, you can have a custom look for your gaming delight.
Painting a computer case does not take much time, except dedication and investing in the right color choice. Once you have started, it’s always fun to go the extra mile here and there, which is great because that means you’re ready to take on new challenges. The cost associated with making your own molded case solution depends entirely upon you.
How to Paint a Computer Case?
To paint computer case, you should follow the steps given here. Be careful to select the painting area and disconnect the cables before starting.
Here is a brief guide on how to paint a PC case. Let’s begin with it without any further delay.
Items Needed
- Sandpapers
- Paper Towels
- Paint
- Brushers
- Screwdriver
- Alcohol or any paint remover
Pre-Requisites
- Remove any external cables from the back and front of the case.
- Open the case and use the screwdriver to remove CD/DVD, SSDs, HDDs, and any cables attaching them.
- Look for any expansion cards attached to the case and remove them and the cable that powers your motherboard.
- Carefully remove the motherboard using the necessary tools.
- Remove the screws connecting the power supply from outside and inside and carefully remove the supply from the case.
- Find the Velcro, stickers, and seals inside and outside the computer case. Ensure to use sandpaper where necessary to create an even surface for applying paint.
Step 1: Shut Down PC
Be sure you’ve turned off your computer correctly. Unplug the wall outlet and remove all cords, including the power cord, LAN, and all extra wires or cables connected to the case before proceeding with the process.
Step 2: Painting Location
A work area should be ventilated, allowing you to easily breathe while working with toxic paints or chemicals. Make sure you allow enough air and sunlight to come in, so the paint dries fast, along with supplying your body with healthy amounts of oxygen as well.
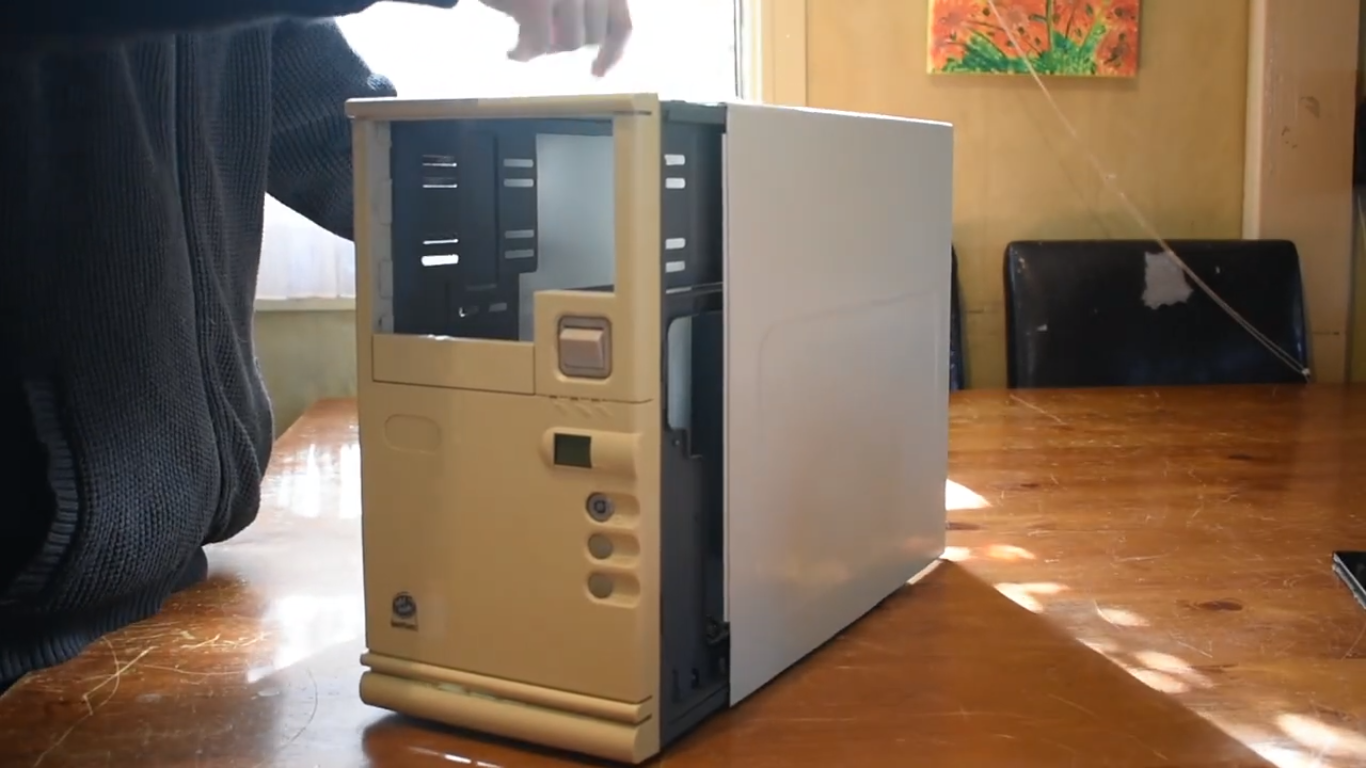
Step 3: Dismantle the Components
Locate the various pieces of your computer case and then carefully remove them. Put all of these components in a container that’s safe and dry so as not to rust or get damaged during painting, but keep them close by so you can put them back on when everything else has dried.
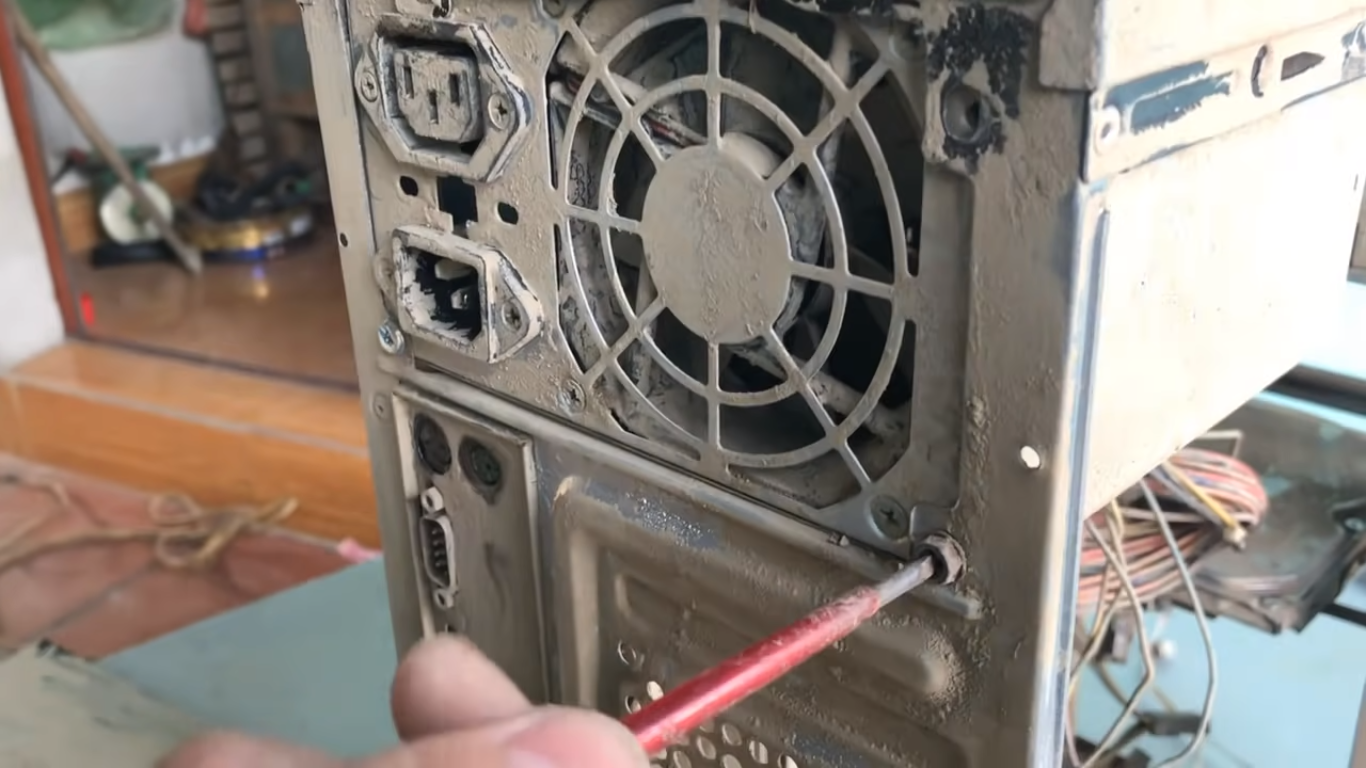
Step 4: Prepare the Surface
Be sure to clean the edges of the case where dust has collected. You could even go so far as to wipe down the internal components with a cloth and make sure that you have taken off the stick-on labels and factory plaques.
Step 5: Remove Old Paint
Removing the external paint from your product casing can get tricky. Be sure to wear the appropriate protective gear not to cause damage to yourself. I recommend sanding down the case with 220-grit sandpaper.
Make sure you get rid of all the existing paint on your project’s outer surface, as this will create a strong base for you to work with when it comes time to apply new paints. Smooth down the edges that still have remnants of paint by sanding them down. Be sure to use only one direction when sanding such that an excellent finish is possible
Step 6: Clean the Surface
Once you have done with the sandpaper and smoothed the edges, clean and remove the debris and particles from the PC case surface, Take a clean cotton rag and pour denatured alcohol into it in a sufficient amount.
Ensure to wipe the material and the sanded surface carefully. Once you have cleaned the surface with and removed all the debris, let it try for some time before proceeding with the next step.
Step 7: Apply First Layer
Before painting PC case with brush, apply a thin layer of paint carefully on the surface. Keep the angle and paint level uniform to paint perfectly. There is little involvement of the skill at this point, as achieving the perfect painting strike is impossible without a steady hand.
Don’t leave edges and corners unattended, as these areas need the most attention. Once done with the first coat, let it dry for some time. You can check the paint label and read about the drying time to be more accurate.
Step 8: Mastering the Art
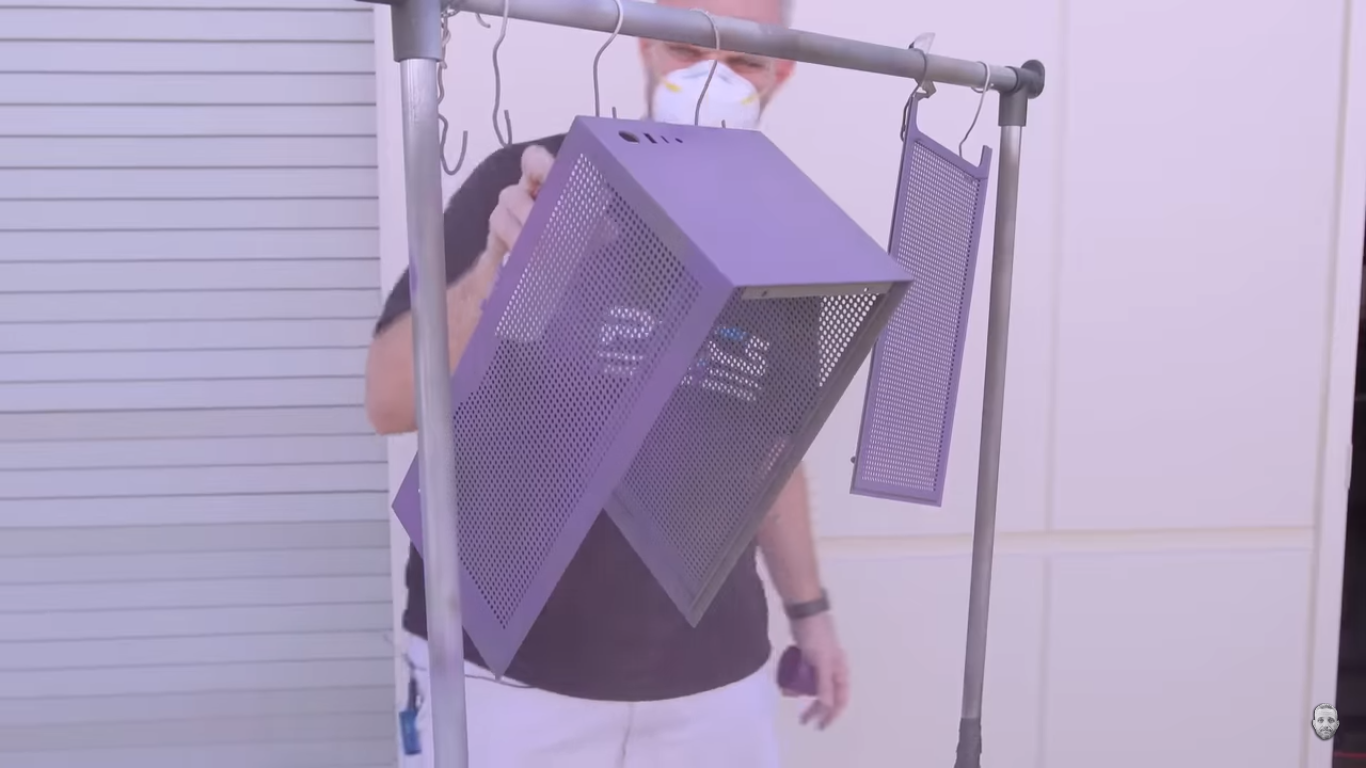
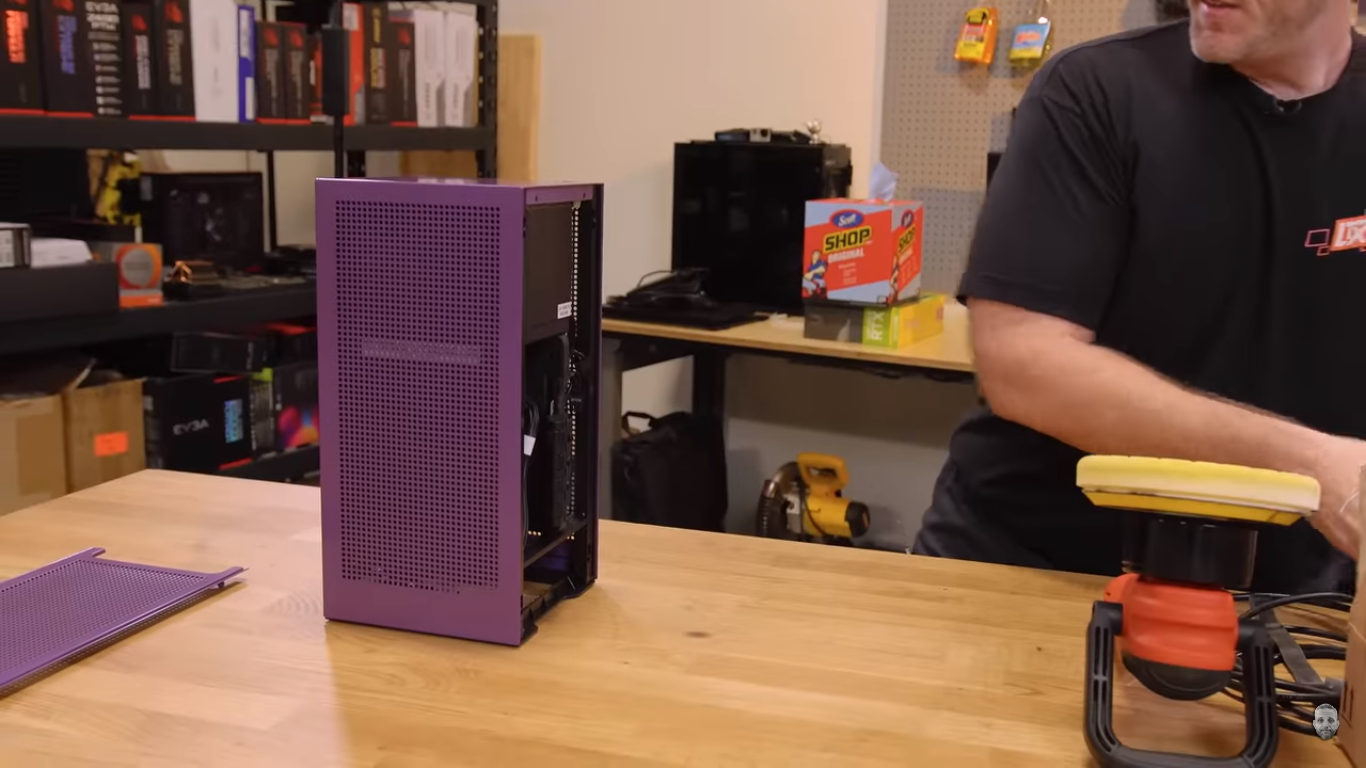
Apply the primer using a brush and an even coating of paint. Let the paint dry for two hours, then apply paint again and let it dry for one hour before reassembling your computer. Some paints may require a primer coat before applying a topcoat, so you should check with your local supplier to see if this is the case.
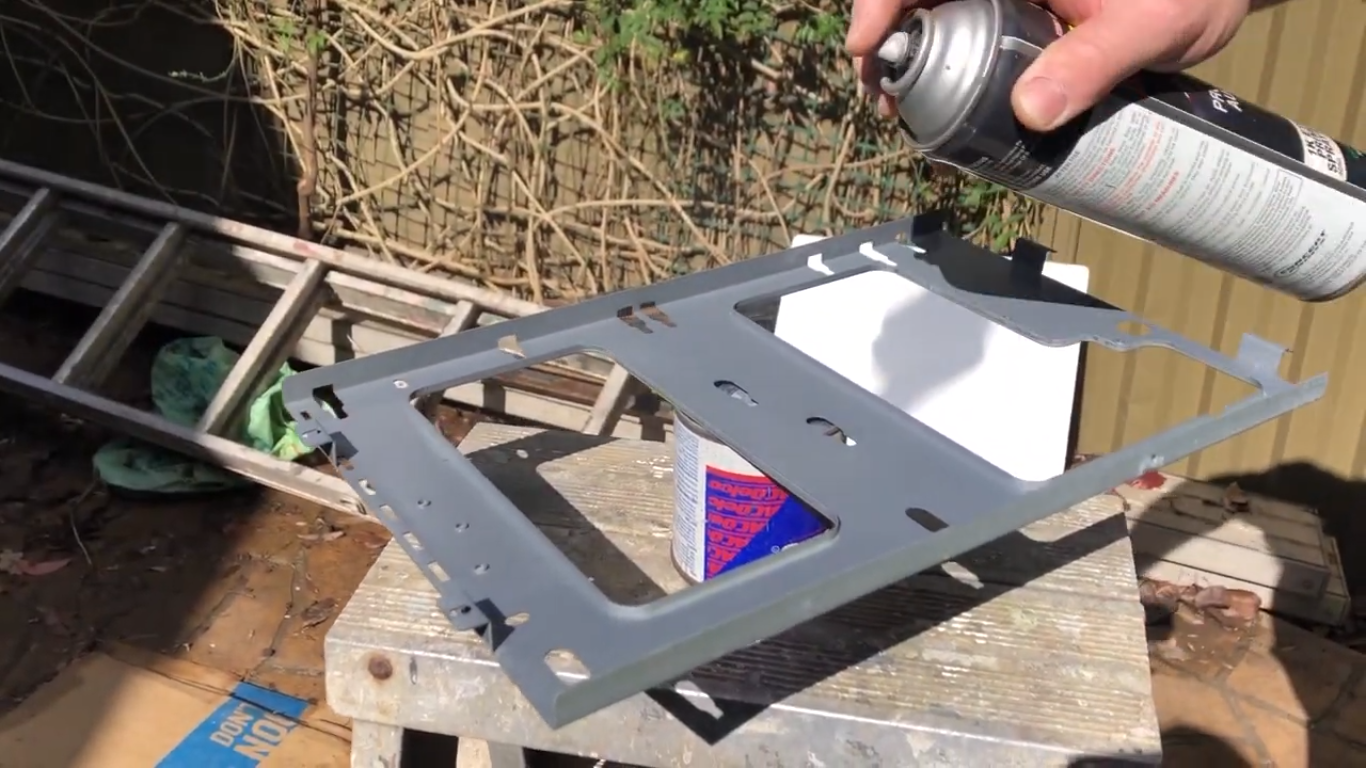
How to Paint a Metal PC Case?
Painting the metal PC case does not require special paint as you can use standard car paint for the task. Investing in heat-resistant paint would be overkill as the interior of the PC is relatively cool for these types of paints.
However, you can consider replacing the paintbrush with spray paint to achieve a uniform and smooth finish. For further adding the premium look and scratch-resistant surface, investing in quality investing paint is highly recommended.
Here are the steps that involve painting a PC case:
- Remove the screws and dismantle the PC case completely.
- Clean the debris with the cleaning agent and soft cotton cloth.
- Use the tape to restrict the paint area if you want not to paint the PC entirely.
- If you plan to use the floor or table to place the PC case, ensure to cover the surface from paint exposure.
- Buy a paint-compatible primer and apply the primer on the surface before painting.
- It is better to use spray paint for the job. Quick sweeping action will ensure a proper and uniform distance from the surface and paint at different angles. It will help to ensure that paint gets applied uniformly.
- Now, wait for the paint to dry for at least 3-4 hours.
- Remove the tapes from the surface, and you can assemble the PC again to enjoy a new look.
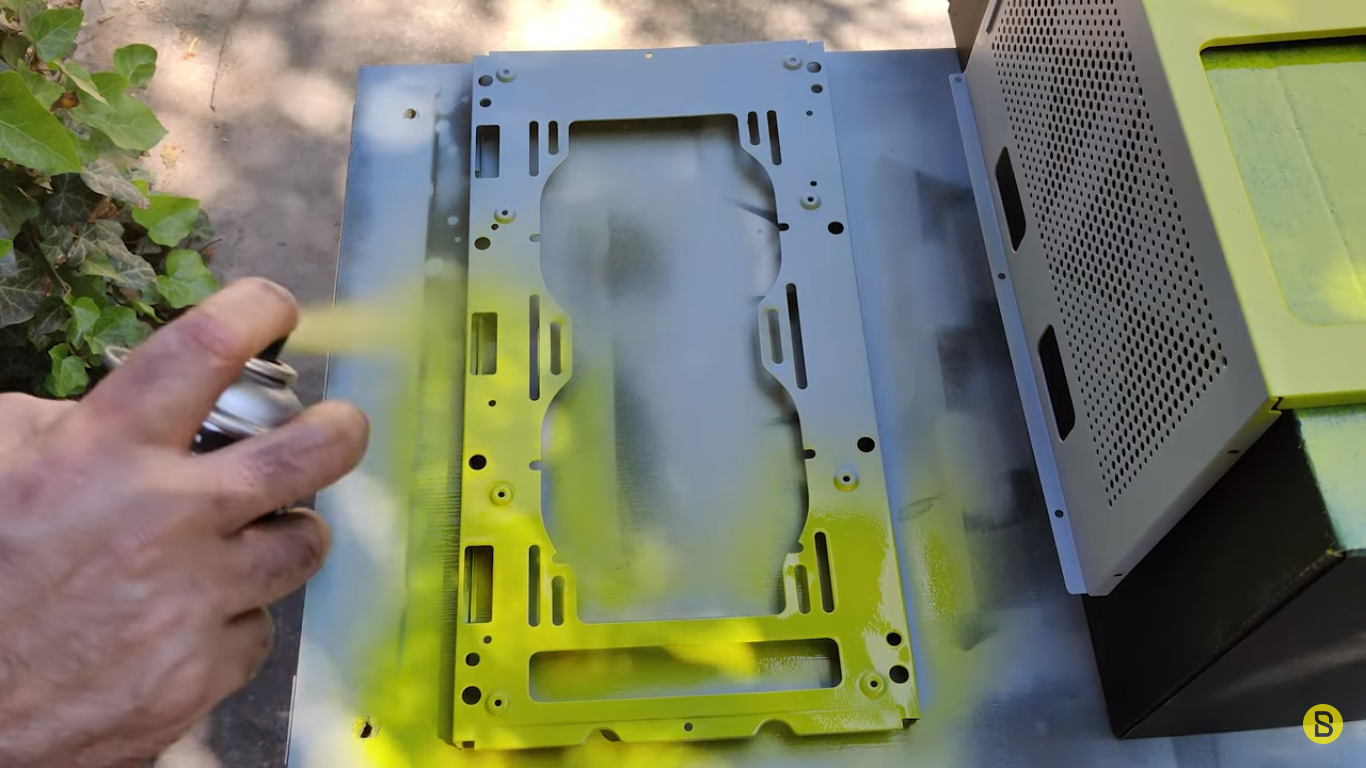
How to Spray Paint a PC Case?
Spray painting works quite similarly to the brush paint a PC case. If you find a way to paint a pc case, there are some tips.
- Always prefer the paint that is relevant to the material of your PC case.
- At least keep a distance of 8 inches from the surface for a uniform application.
- To get maximum paint uniformity, use the bottom to top approach.
- Use a primer before getting started with the spray paint.
- Covering the hands with gloves and face with masks is necessary for spray painting.
- Cover the parts you don’t want to paint with the tape as PC spray paint is less precise than brush application.
- Choose the spray paint for PC case that is premium and top-notch.

How to Paint the Interior of a PC Case?
Painting PC case interior involves the following steps. Carefully read them out before applying the paint.
- Rub and clean the entire interior of the case and use the scrubbing action to achieve proper cleaning.
- Use any cleaning agent or cotton cloth to dry and clean the area.
- Use self-etching primer from bottom to top to get a slight overlapping action. Let it dry for s few minutes and repeat the process.
- Now use 600-grit sandpaper to sand the case and use isopropyl alcohol to wipe.
- Apply a couple of paint coats uniformly and dry for a few hours.
- Reapply the paint to get a finishing look, and don’t overlook any minor details to achieve perfection.
- Once the paint gets dried, you can assemble the components.
How to Paint a Plastic PC Case?
Painting the plastic PC case is quite similar to the metal case. Here are some important steps that you need to consider if you wonder how to paint a plastic pc case.
- Use only 600-800 grit sandpaper to sand the surface gently.
- Ensure uniform application of primer before painting. Apply four light coats followed by one thick coat of primer.
- Let the case dry between each application for getting better results.
- Now use any plastic grade paint and apply it similar to the primer application.
- You can top up with a clear lacquer epoxy after paint application if you want a reflective or glossy finish.
How to Paint Aluminum PC Case?
These are the crucial steps on how to paint aluminum PC case.
- Wipe the surface thoroughly to remove any dirt, grease, or other substances from the PC case surface.
- Now tape the areas where you dont want to apply the paint.
- Now use the prime and apply it on the clean surface.
- Let it sit for some time, and then use 600-grit sandpaper to sand the surface.
- Repeat both above steps with enough dry time between the coats.
Now use the spray paint to apply the paint over the surface uniformly. Apply three to four thin coats followed by proper drying time to get the desired results.


