The essential part of keeping a PC healthy and performing well is cleaning. Your desktop computer’s strange noise is a cry for assistance. The upkeep of your computer’s system and keeping it virus-free should not be the end of it. A clean PC offers better overall performance, not just better looks.
Sadly, only some PC owners know the benefits of maintaining physically clean PC components. It’s time to develop the practice of cleaning if you frequently wind up with a thick layer of dust accumulating at the internal bottom of your PC. Cleaning your computer, even essential components like the graphics card; has long-term benefits. I will provide detailed instructions on how to clean GPU.
Why is it Important to Clean Your Graphics Card?
If you don’t, it will overheat and malfunction. That’s all there is to it. GPU purchases are pricey. Therefore, you must take care of it and clean it regularly. So that it won’t suddenly stop working one day while you’re in the thick of a competitive game or a 16-hour render.
Compressed air, screwdrivers, isopropyl alcohol, a dusting cloth, patience, and these items are required to revive the GPU. The graphics card must first unmount from the motherboard. Compressed air and various cleaning agents can use to restore the video card’s functioning.
How To Clean GPU Dust in 4 Ways?
Your graphics card might feel solid and well-made in your hands, but it is rather delicate. It is such that the GPU won’t function properly even if just one component of it breaks. Here are the different ways:
How to Clean GPU With Waterblock?
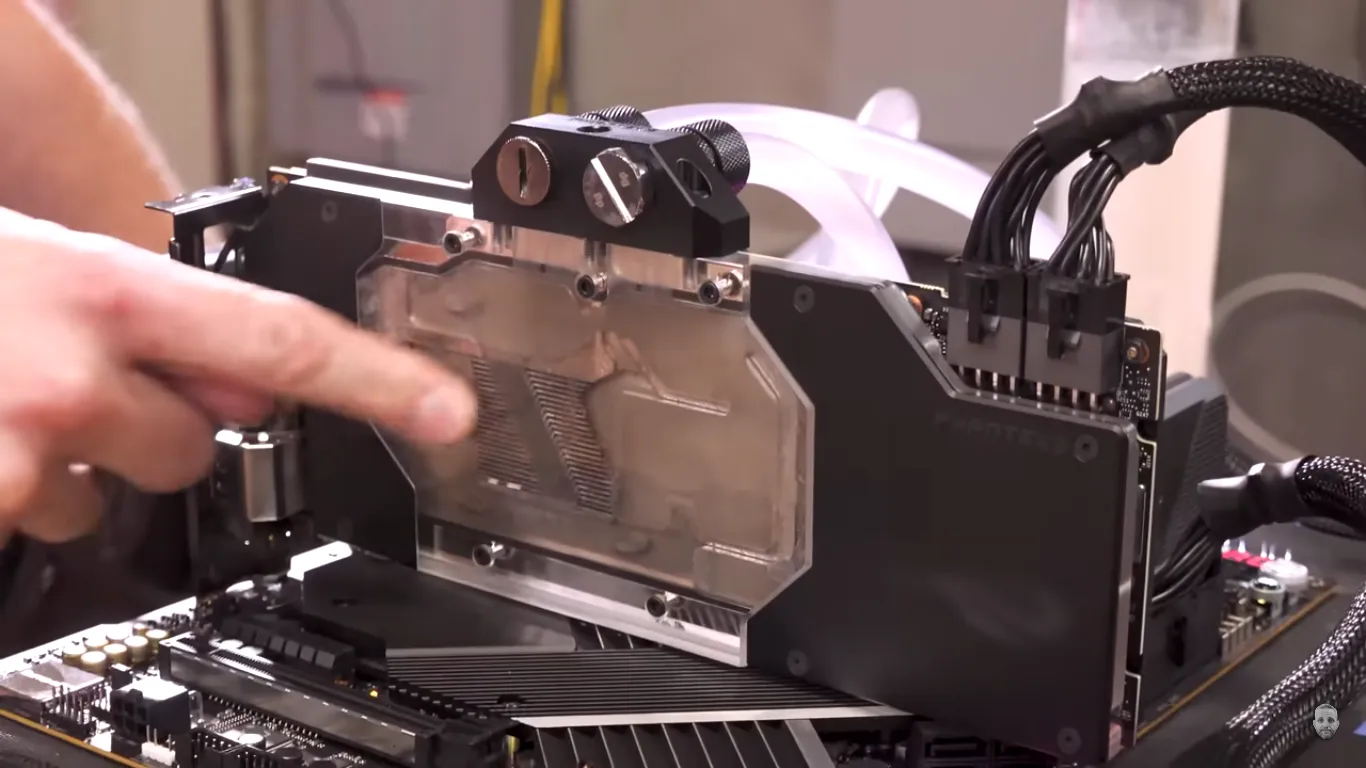
I recently cleaned and reinstalled my custom GPU and CPU water blocks after posting a discussion about them in the past. It would be rude not to disclose the results because they are so good.
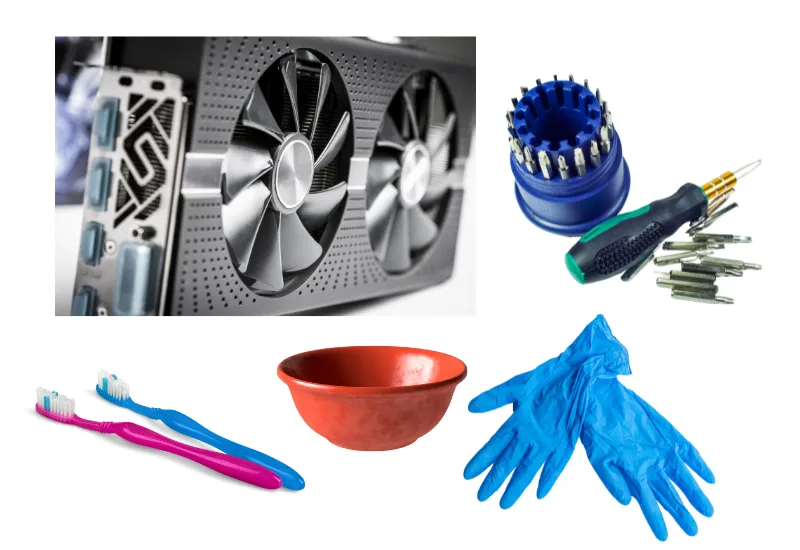
Necessary Things
- Screwdriver set: (Use to open the CPU/GPU water block)
- Toothbrush
- Dilution of HCL
- A Bowl
- Gloves made of rubber or plastic.
- GPU cleaning kit
You only need the copper plate. Therefore, unlock the water block.
- When I used toilet bowl cleaning for the first time, I poured 2–3 drops onto the copper plate. As soon as the bubbles began, I used an old toothbrush to clean them and ensure the acid got to all the fins and parts.
- At this stage, it was relatively clean after being cleaned with water.
- I filled a plastic bag with water, completely submerging the copper plate. I then used 5–10 drops of that cleanser to get the pinkish solution you see in the picture.
- Allow the copper plate to soak there for ten to fifteen minutes. Then resin and water once again.
- Ultimately, I used dishwashing soap with lemon as the primary ingredient. Using that soap and a toothbrush, carefully clean the copper plate before re-resining it.
- To clear the remaining water block. I used the same pink solution; it cleans quickly.
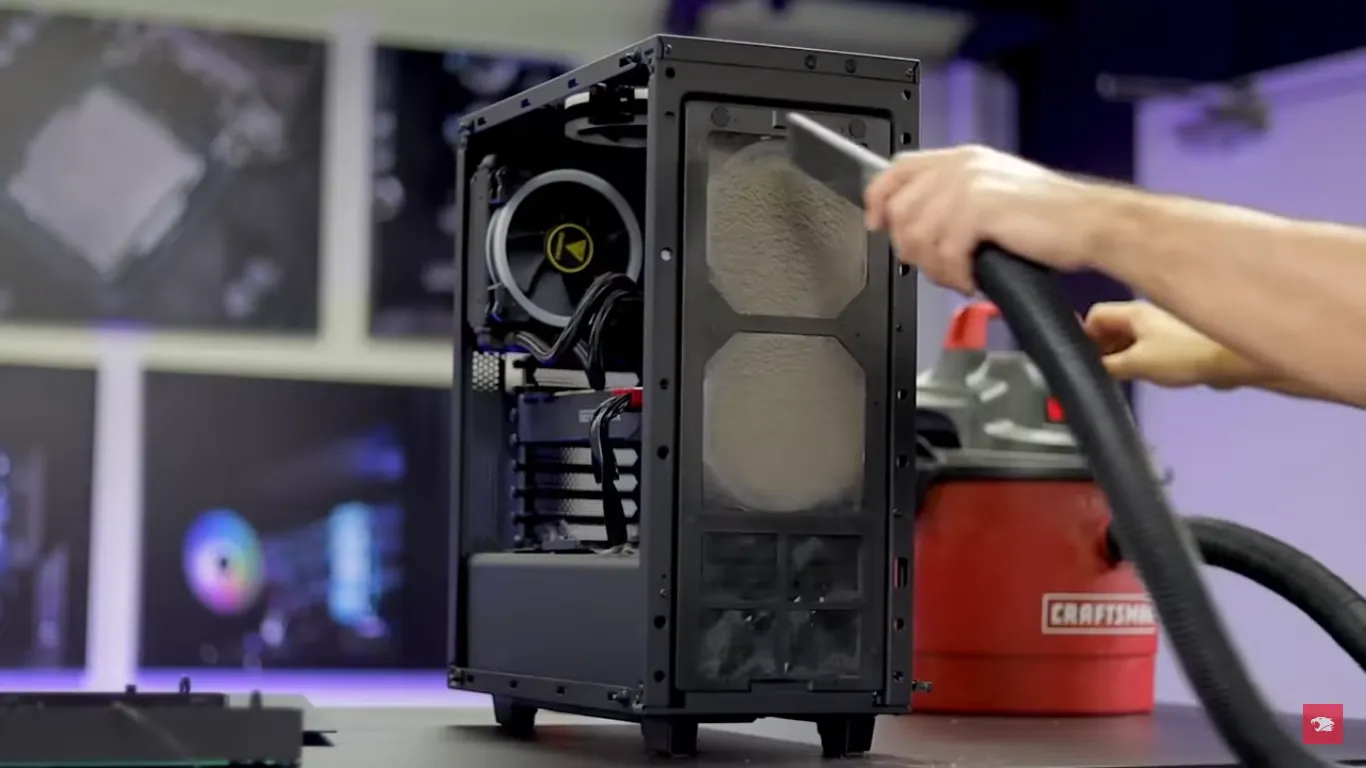
How to Clean GPU With Compressed Air?
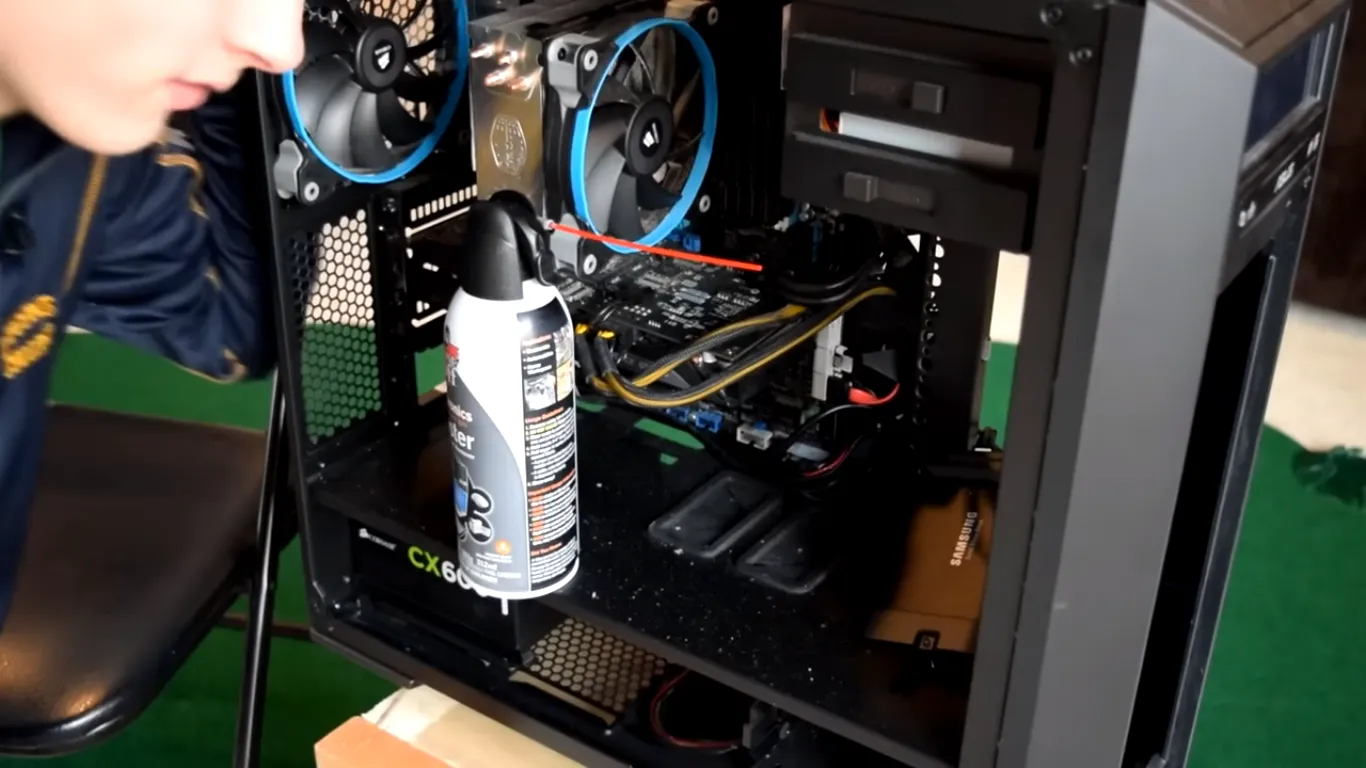
Gather a soft, lint-free cloth and a can of compressed air before you begin.
- Turn off the computer and wait a moment before continuing. While you can open your case while the computer is running, avoiding doing so is recommended unless you have a compelling cause.
- If the PSU has a power switch, flip it to the off position. Remove the computer’s wall plug.
- To access the GPU, open the side of the computer. The door might slide off with your help. To access the computer’s interior, you must remove screws from some models or press buttons.
- To have a clear view of and access to your graphics card, remove any necessary additional accessories. While specific layouts may put other components in the way, some circumstances make it simple to clean the card.
- Direct the pressured air nozzle at the fans on the graphics card. To clear the dust, squirt them with air in brief spurts. To blow any dust off the card, move from the top to the bottom.
- Use a soft towel to wipe away any stubborn messes gently. For this level of cleaning, there shouldn’t be anything sticky or durable on the card, making removal easy.
- Compressed air blows the dust away, so the cloth cleaning loosens.
- Use the compressed air to blow any dust that has gotten inside the computer case or on other components out. You can accomplish it more quickly and without spreading it by working from top to bottom.
- Put the computer tower to bed.
- Connect the computer, activate the PSU switch, and then turn on the computer.
Related Article: Best Horizontal PC Cases 2024 | Sideways MOBO Chassis
How to Clean GPU Without Taking it Apart?
How do I clean my GPU without opening it? The can of compressed air should always be used as the first step because it will help to get rid of most of the dust and, more significantly, the soot that has built up between the heatsink’s blades on the graphic.
If your graphics card is the blower variety, be sure to AVOID using compressed air from the rear of the graphics card, as this will merely force the dust back in. Instead, you should shoot your projectile at the fan’s edges to allow air to enter the machine. If you perform it correctly, you will observe that the dirt precisely emerges from the graph’s back.
If your graph has standard fans rather than blowers, you must use compressed air from the top to force debris out of the bottom. You must also distribute the compressed air evenly across the graph’s horizontal to clean the entire heatsink interior.
The next step is to use wet wipes to clean the graphic’s whole surface, paying special attention to the fans and the lower part of it where dirt tends to collect. To do this, press your fingertips against the wipe while carefully not bending the fan blades overly. Since the plastic is flexible, even slight bending has no adverse effects.
Nevertheless, take care not to bend them too much, or you risk breaking them. The next step is to use the earbuds to wipe the grille on the rear, mainly if the graphic is a blower kind. If you’d like, you can briefly dampen the rods with isopropyl alcohol, but it’s unnecessary since you’re just using compressed air to remove the last possible dirt on the grill.
As you can see from these three methods, cleaning the graphics card without disassembling it. It is easy and should do at least once every 6 months. When the graphic is no longer guaranteed. Changing the thermal paste is more complex, but you can leave it intact for 2-3 years without any issues.
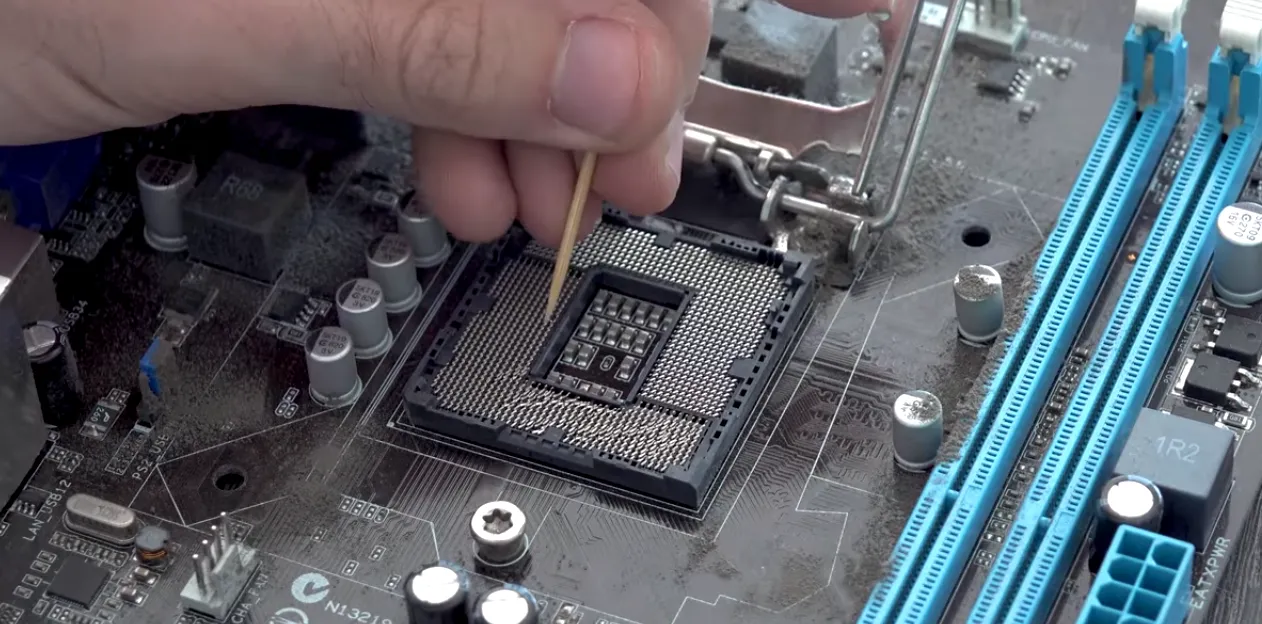
To Clean GPU Pins?
Use a microfiber cloth, swabs, and isopropyl alcohol to clean the GPUs outside. Use your pressured air can or air pump to eliminate the dust within the GPUs, especially the dust inside the fins. The slot has gold pins in it. They also give each other a polish during insertion and removal. Avoid using an eraser and clean parallel to the pin pads if someone else wishes to do so.
To clean the area between the tiny metal fins of the heatsink, use a cotton swab dipped in alcohol. The heatsink’s remaining surface can clean with alcohol and a lint-free cloth.
The CPU fan should be removed, revealing all or nearly all the heatsink body. Use a brush with long bristles to clean as much dust as possible from the heatsink’s fins and top. Dust clumps will disperse as you do this.


